Ah, the familiar click-clack of puppy nails on the floor! If you’re hearing that more often, it might be time for a little nail trimming session. We get it – trimming your puppy’s nails can feel daunting, especially if you’re worried about accidentally hurting your fur baby. But what if we told you there’s an easy, stress-free way to do it right at home? Welcome to our step-by-step guide on the painless process of keeping those tiny paws perfectly manicured. Whether you’re a seasoned dog parent or a newbie, this blog is here to help. Say goodbye to expensive pet salon trips and hello to a confident, DIY nail-trimming experience. So, grab your pupper, settle down, and let’s dive into the world of hassle-free home grooming!
When Should You First Clip Puppies’ Nails?
As the proud parent of a bouncy new puppy, you’ve probably ticked off a list of “firsts” with your little one – the first walk, first treat, and maybe even the first bark at the neighbor’s cat. But one “first” that often raises a flurry of questions is the nail trimming session. So, when exactly should you introduce your furry bundle of joy to the world of nail clipping?
The answer is sooner than you might think! Most vets and pet grooming experts recommend starting as early as 3-4 weeks old. That might sound super early, but there’s a method to the madness. Introducing your pup to nail trimming while they’re still a wee little thing helps them get acclimatized to the process, making it a lot less stressful for both of you as they grow.
But, if you’ve adopted an older puppy or missed that early window, fret not! The key is to start as soon as you notice their nails getting a tad too long or when they begin that all-too-familiar click-clacking sound on your floor.
Remember, consistency is your best friend. Regular, gentle trimming not only keeps your puppy’s nails in check but also makes the experience a routine part of their life. And hey, while it might feel a tad overwhelming at first, armed with the right tools and a sprinkle of patience, you’ll soon become a nail trimming pro.
Are My Puppy’s Nails Too Long?
When it comes to our furry friends, it’s often the little things that raise the biggest concerns. One question that nudges many puppy parents is: “Are my puppy’s nails too long?” Figuring this out can be a bit puzzling, especially for first-time dog owners. Thankfully, there are telltale signs and easy checks to guide you. So, let’s jump right in!
The Click-Clack Test
- One of the most apparent signs is the sound. If you hear a noticeable click-clack while your puppy walks on hard surfaces, it’s a clear hint that those nails might need a trim.
- But remember, some breeds naturally have longer quicks (the sensitive part of the nail), so even after a trim, you might still hear some clicking. The key is to observe any change in the intensity of the sound.
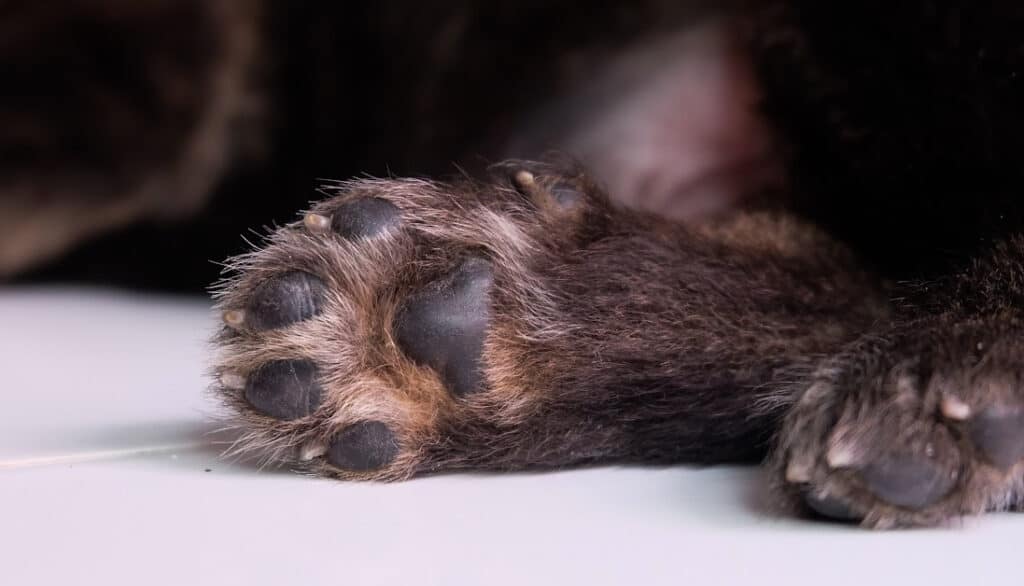
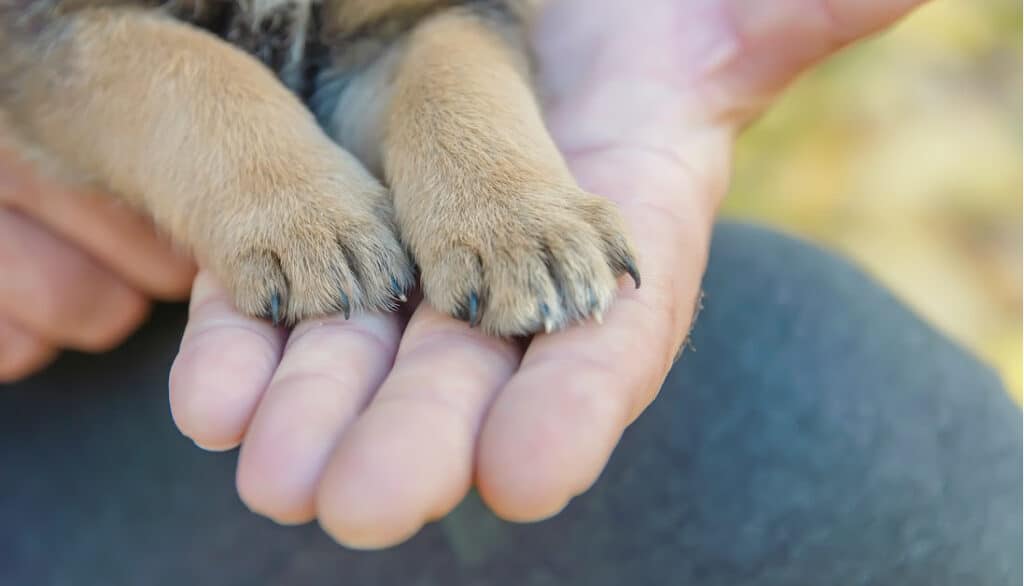
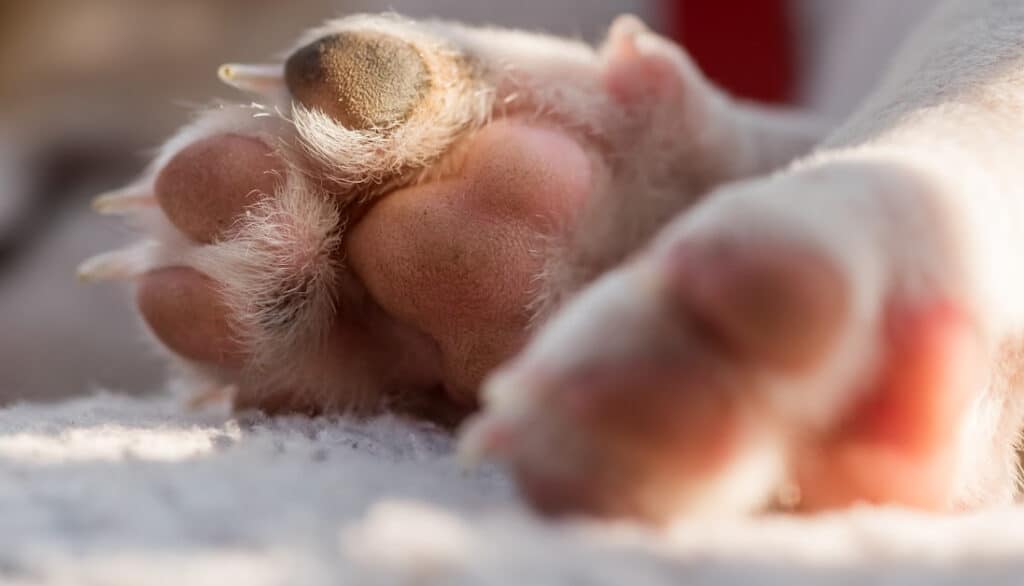
The Visual Check
- Look at your puppy’s paws when they’re standing still. The nails shouldn’t touch the ground. If they do, they’re probably too long.
- Examine the nail’s curvature. A nail that curls inwards could soon become ingrown, causing discomfort or even pain for your pup.
The Comfort Test
- Does your puppy pull away or show discomfort when you touch their paws? While this could be a sign of many things, overly long nails might be the culprit.
- Overgrown nails can cause pain and even affect your puppy’s posture and gait. Watch out for any limping or unusual walking patterns.
Tips for Regular Nail Checkups
- Make it a routine. Incorporate nail checks into your regular grooming sessions or cuddle times.
- Use natural light when possible. It’ll help you spot any overgrowth or potential problems.
- Always be gentle. If your puppy seems agitated or stressed during a check, give them a break and try again later.
In the end, knowing when to trim your puppy’s nails is a mix of observation and understanding your puppy’s unique needs. When in doubt, a quick vet check or consultation with a professional groomer can offer clarity.
Trimming Puppy Nails
The mere thought of wielding nail clippers near your precious pup can send even the bravest of pet owners into a mild panic. But here’s the good news: with the right approach, tools, and a touch of patience, trimming your puppy’s nails can transition from a daunting task to a bonding ritual. As you embark on this grooming journey, our comprehensive guide on ‘Trimming Puppy Nails’ is here to lead the way. Whether you’re grappling with a squirmy puppy or simply nervous about getting the length just right, we’ve got your back. Read on, and let’s transform that nail-trimming apprehension into confident expertise!
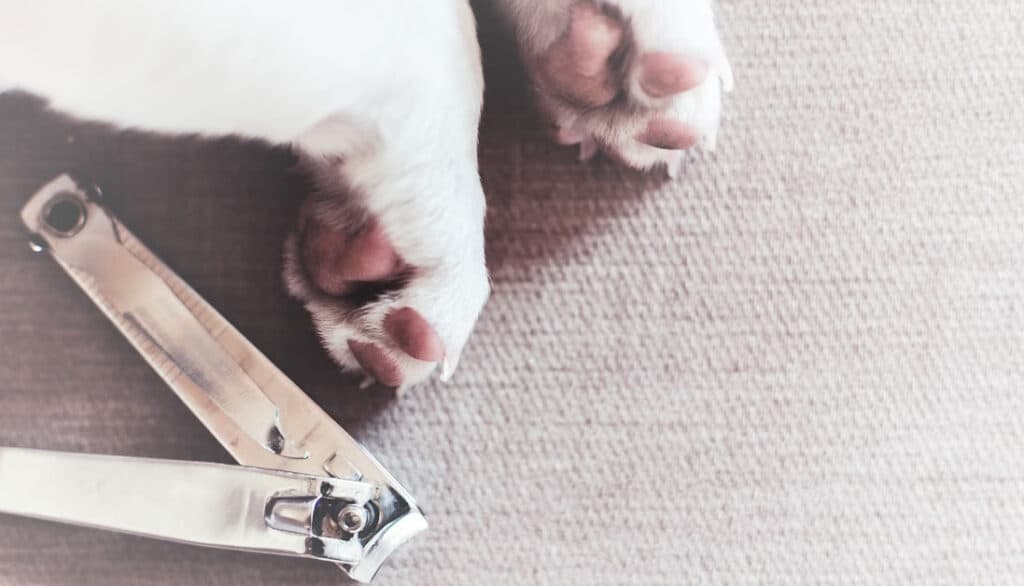
What to Cut Puppy Nails With – Human Clippers vs. Pet Clippers
Let’s face it: puppies and their endearing antics have a magical way of melting our hearts and making us reach out for anything close at hand when it comes to their care. So, you might wonder, in a pinch, can you grab your trusty pair of human nail clippers to give those growing puppy nails a quick snip?
The answer is a bit nuanced.
Understanding Human Clippers vs. Pet Clippers
1. Design & Shape:
- Human Clippers: These are typically designed flat, making them perfect for our relatively flat nails.
- Pet Clippers: On the other hand, canine clippers are made to accommodate the rounded shape of dog nails, offering a more precise and comfortable cut.
2. Size & Strength:
- Human Clippers: They might be suitable for the tiniest of puppies with soft, delicate nails. However, as your pup grows, their nails become harder and thicker, possibly rendering human clippers ineffective.
- Pet Clippers: These are crafted to handle the strength and thickness of a dog’s nails, ensuring a clean cut without splintering.
So, Can You Use Human Clippers?
While it’s not the ideal choice, in a pinch (and with a very young or small breed pup), you might be able to get away with using human clippers. But, there are a few things to keep in mind:
- Be Extra Careful: Puppy nails have a “quick” – a blood vessel running inside. It’s easier to accidentally snip this with human clippers, causing discomfort or bleeding.
- Perfect for Emergencies: If you notice a small nail snag and you’re far from your grooming kit, a human nail clipper can act as a temporary solution to prevent the nail from tearing further.
- Not a Long-term Solution: For regular grooming and as your puppy grows, investing in a proper set of dog nail clippers will make the process safer and more comfortable for both of you.
While human clippers can serve as an emergency stand-in, they aren’t designed for the complexities of puppy nails. To ensure your furry friend’s comfort and safety (and your peace of mind), it’s worth having a dedicated set of canine clippers in your grooming toolkit. After all, our little furballs deserve the best, don’t they?
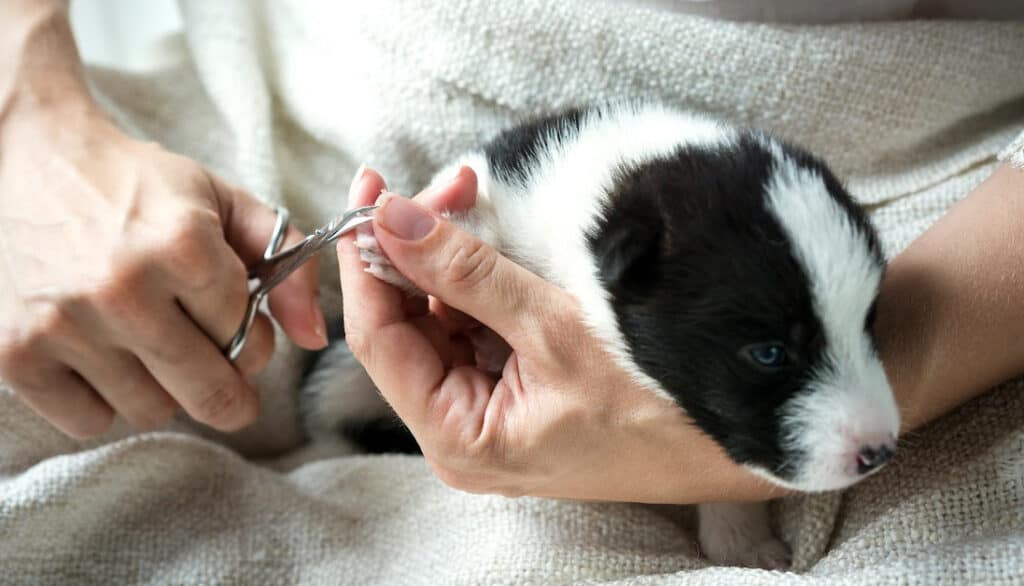
How to Cut Newborn Puppy Nails
Ah, newborn puppies! Those tiny, wriggling bundles of joy with their soft fur, adorable yawns, and… surprisingly sharp nails? If you’re raising a litter or have just brought a newborn puppy home, you might be surprised at how quickly those little claws can grow. But when it comes to trimming the nails of such a delicate being, caution is the name of the game. Fear not! Here’s your gentle guide to safely navigating this task.
Why Trim Newborn Puppy Nails?
Before we delve into the ‘how,’ it’s essential to understand the ‘why.’ Newborn puppies have incredibly sharp nails, which they can inadvertently use to scratch their mother during nursing, or even hurt themselves or their littermates. Regular trims ensure everyone stays safe and scratch-free.
Gearing Up
You don’t need heavy-duty clippers for these tiny nails. Human nail clippers or small pet nail clippers will do just fine for the task.
Steps to Trim Newborn Puppy Nails:
- Find a Quiet Spot: Look for a calm, well-lit space to make the process as stress-free as possible. Remember, puppies are sensitive to their surroundings.
- Gently Hold the Puppy: Cradle the puppy in one hand or on your lap. It helps if you have someone to assist, but if you’re solo, make sure you have a secure grip without squeezing too tight.
- Check the Nail: Look for the translucent part of the nail – this is what you’ll be trimming. Avoid the pinkish area, which is the ‘quick,’ containing blood vessels and nerves.
- Make the Cut: Gently snip the tip of the nail without getting too close to the quick. If the nails are clear, it’s easier to spot the quick. For darker nails, make small, conservative cuts.
- Stay Calm: If the puppy gets squirmy, take a short break and soothe them with gentle pets or soft whispers.
- Post-trim Rewards: After the trim, give your puppy some gentle cuddles or return them to their cozy spot. The idea is to associate nail trimming with positive experiences.
What If I Cut the Quick?
Accidents can happen. If you nick the quick and it bleeds, don’t panic. Apply some styptic powder or cornstarch to stop the bleeding. And remember, it’s a learning process; you’ll get better with time!
Trimming a newborn puppy’s nails might feel like you’re handling the finest porcelain, but with patience and practice, it becomes a straightforward and rewarding task. Keeping those tiny nails in check ensures your little one grows into a happy, healthy dog with excellent paw hygiene habits!
How to Cut Puppy Nails with Human Clippers
If you’ve ever been caught in a pinch (pun intended) without your trusty dog nail clippers, you might’ve wondered, “Can I use my own nail clippers for my pup?” While using human clippers isn’t the ideal choice for full-grown dogs, they can be a temporary solution for puppies, especially the smaller breeds. So, if you find yourself in this situation, here’s how to approach it safely and efficiently.
1. Prepare Your Puppy
- Relaxation Time: Before you start, spend a few minutes petting and calming your puppy. This can help reduce their anxiety.
- Good Lighting: Position yourself in a well-lit area. This helps in clearly identifying the ‘quick’ of the nail, which you’ll want to avoid cutting.
2. Proper Holding Technique
- Hold the Paw Firmly: With one hand, hold the puppy’s paw gently but firmly. This will give you better control and reduce the chances of any sudden movements.
- Hold the Clippers Vertically: Unlike the horizontal positioning you’d use on human nails, holding the clippers vertically (perpendicular to the nail) is more effective for dog nails.
3. Start with Small Cuts
- Identify the Quick: This is the pinkish area within the nail where blood vessels are located. For puppies with darker nails, the quick may be harder to spot, so always err on the side of caution.
- Trim Bit by Bit: Since you’re using human clippers, it’s crucial to make small, gradual trims. This gives you better control and reduces the risk of cutting into the quick.
4. Soothe and Reward
After each nail or if your puppy gets restless, give them soothing praise. Once you’re done with all the nails, reward them with a treat or their favorite toy. Positive reinforcement can make future trimming sessions easier.
While human nail clippers can work for puppies in specific situations, it’s always a good idea to invest in a pair of dog nail clippers for the long run. They are designed for the job and will make the process smoother and safer for both you and your furry friend.
How To Grind Puppy Nails
For some puppy parents, the very thought of snipping their fur baby’s nails induces mild panic. What if you could ditch the clippers altogether and opt for a smoother, often less stressful method? Enter: nail grinders. This tool, which essentially sands down the nail instead of cutting it, can be a game-changer. Let’s navigate the how-tos of grinding those little puppy claws safely and effectively.
Why Opt for Grinding?
Grinding can offer several advantages over clipping:
- Gradual Reduction: It allows you to trim the nail bit by bit, reducing the risk of nicking the quick.
- Smooth Finish: Grinders leave a rounded, smooth edge, minimizing the chances of snags.
- Less Stress: For puppies scared of the clipping sound, grinders can sometimes be a quieter, more comfortable alternative.
Choosing the Right Grinder
There are many pet nail grinders on the market, but look for one that:
- Has multiple speed settings.
- Is relatively quiet, so it doesn’t startle your puppy.
- Comes with safety guards to prevent over-grinding.
Step-by-Step Guide to Grinding Puppy Nails
- Preparation is Key: Introduce the grinder to your puppy gradually. Let them sniff and inspect it. Turn it on so they get used to the sound, rewarding them with treats for calm behavior.
- Choose a Comfortable Spot: Opt for a well-lit area where both you and your puppy can relax. Holding your puppy securely or having someone assist can be very helpful.
- Hold the Grinder: Grip the grinder in a way that feels stable in your hand. Remember, confidence on your part can translate to comfort for your pup.
- Start Grinding: Hold your puppy’s paw firmly and start with the tip of the nail, grinding in short bursts to prevent heat buildup. Always move from the tip towards the base of the nail, following its natural curve.
- Watch the Quick: As with clipping, you want to avoid the quick. Grinding offers a bit more control, but always proceed with caution, especially as the nail gets shorter.
- Smooth It Out: Once you’ve reached the desired length, you can use the grinder in a circular motion around the tip of the nail to smooth out any rough edges.
- Post-Grind Praise: Always end the session with plenty of praise, cuddles, and perhaps a treat. This positive reinforcement can make future sessions much easier.
Safety First
While grinders come with safety features, it’s essential to:
- Never grind in one spot for too long to avoid heat buildup.
- Regularly inspect the grinder for wear and tear.
- Always read the manufacturer’s instructions and safety guidelines.
Grinding can be a fantastic alternative to traditional clipping, especially for anxious pups or parents nervous about using clippers. With patience, consistency, and positive reinforcement, grinding your puppy’s nails can become a stress-free grooming ritual for you both.
Video Demonstration: Grinding a Dog’s Nails
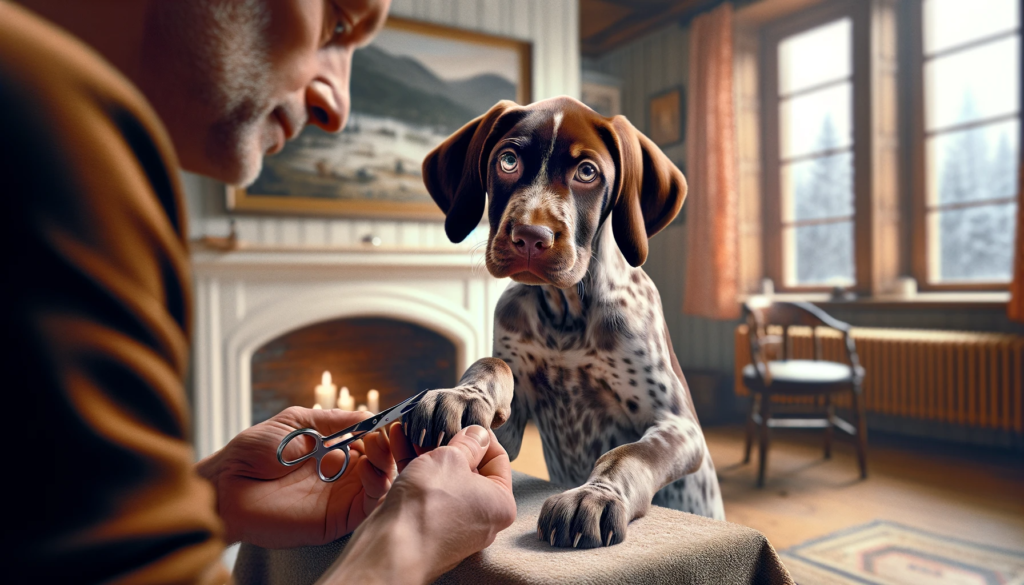
How to Use Dog Nail Scissors on Your Puppy’s Nails
There’s a certain charm in watching your playful pup run around, but hearing the click-clack of long nails on the floor? Not so much. While there are several tools available for trimming your dog’s nails, dog nail scissors remain a popular choice for many puppy parents. Easy to handle and precise, these scissors can be the perfect grooming companion if used correctly. Let’s dive into the world of dog nail scissors and master the art of trimming those petite puppy paws.
Understanding Dog Nail Scissors
Unlike regular scissors or guillotine-style clippers, dog nail scissors are specially designed for our canine companions. They often have:
- Curved blades to match the natural curve of a dog’s nail.
- Textured grips for secure handling.
- A safety stop feature to prevent over-cutting (in some models).
Step-by-Step Guide to Using Dog Nail Scissors
- Prep Your Pup: Start by getting your puppy used to the scissors. Let them sniff and explore them. Giving a treat after this initial exploration can create a positive association.
- Pick a Well-Lit Area: Good lighting is essential. It helps you clearly see the nail, especially the ‘quick’, which you want to avoid cutting.
- Hold Your Puppy: If your pup is squirmy, it might be helpful to have someone hold them gently. Alternatively, holding them in your lap or placing them on a non-slip surface can work.
- Grip the Scissors: Hold the nail scissors in your dominant hand with a firm, confident grip. Ensure your fingers are through the loops for better control.
- Position and Snip: Lift one of your puppy’s paws and gently separate the toes. Position the scissors so that they’re parallel to the nail tip. Make a confident, clean cut, taking care not to get too close to the quick.
- Check and Continue: After each snip, check the nail for any rough or jagged edges. If you find any, you can gently smooth them out with a nail file. Continue this process for all the nails.
- Treat and Praise: Once you’re done, shower your pup with praise and maybe even a treat. Making the experience positive ensures smoother sessions in the future.
Tips for a Safe Trim
- Spotting the Quick: On clear nails, the quick is the pinkish area. Avoid cutting into it to prevent pain and bleeding. For darker nails, make smaller cuts to be on the safe side.
- Stay Calm: If you’re nervous, your puppy will pick up on that energy. Take deep breaths, and if you’re unsure, it’s better to trim less rather than risk cutting the quick.
- Accidents Happen: If you do cut the quick, don’t panic. Apply styptic powder or cornstarch to stop the bleeding and comfort your pup.
Using dog nail scissors can be an efficient way to keep your puppy’s nails in check. With a steady hand, a calm demeanor, and a dash of patience, you and your furry friend will breeze through nail trimming sessions, ensuring those paws remain healthy and your floors scratch-free!
How to Make Puppy Nails Less Sharp
Oh, the joys of puppyhood! Their playful antics, those loving licks, and those… sharp nails? If you’ve ever been on the receiving end of a playful puppy’s scratch, you know just how surprisingly sharp those little nails can be. While regular trimming is essential, sometimes what you need is to simply dull those claws a bit, ensuring playtime remains fun and scratch-free. Let’s explore the techniques to make those puppy talons a tad less pointy.
How to File Puppy Nails
Filing can be a gentle and effective way to smooth out your puppy’s nails post-trim, or even in between trims. This method not only reduces the sharpness but also minimizes the risk of nails snagging on carpets, furniture, or your favorite sweater. Here’s a step-by-step guide to safely file those tiny nails.
- Choose the Right Tool: There are specific nail files designed for dogs, but a regular emery board (like the ones used for human nails) can also do the trick for puppies. If you’re tech-savvy and want to speed up the process, consider investing in a pet nail grinder.
- Create a Calm Atmosphere: Play some soft music or sit in a quiet room to help keep your puppy at ease. This calm setting can make the filing process less intimidating.
- Hold Your Puppy’s Paw Gently: Using one hand, firmly but gently grasp your puppy’s paw. This gives you control and keeps the nail steady.
- Start Filing: Place the nail file or grinder at the tip of the nail. With gentle motions, file in one direction – from the top of the nail downward. This ensures a smooth finish and minimizes splitting.
- Check Your Progress: Every few strokes, feel the tip of the nail to check its sharpness. Your goal is to have a smooth, rounded edge.
- Reward and Repeat: After filing each nail, give your puppy some praise or a small treat. This makes the experience positive and reinforces good behavior. Move on to the next nail and repeat the process.
- Post-Filing Check: Once all nails are filed, do a quick check to ensure they’re even and at the desired length. Sometimes in the process, one might miss a nail or not file enough.
Bonus Tips for Using a Nail Grinder:
- Introduce Slowly: Before using it on your puppy, turn on the grinder and let your pup get used to its sound and vibration.
- Short Sessions: Prolonged grinding can cause heat buildup which might be uncomfortable. It’s best to use the grinder in short bursts.
- Safety Guard: If your grinder has a safety guard, it can help prevent over-grinding and protect the paw pads and fur from getting caught.
Filing your puppy’s nails might seem like a minute detail, but it can greatly enhance the comfort of your pet and anyone interacting with them. Whether you opt for the traditional file or the modern grinder, the goal remains the same: to have a happy, well-groomed pup with nails that are safe for snuggles and play!
What to Do for a Puppy Nail Infection
Nail infections in puppies can be a concerning experience for pet parents. These infections are not only painful for our furry friends but also require prompt attention. Dive into this guide to understand the steps to take if you believe your puppy is suffering from a nail infection.
Signs of a Nail Infection
- Swelling: The area around the nail appears red and inflamed.
- Discharge: Pus, which might be yellow or green, could seep from the infected area.
- Limping: Your puppy might avoid placing weight on the infected paw.
- Excessive Licking or Biting: The pup might incessantly focus on the affected nail, indicating discomfort.
- Foul Odor: An unusual, off-putting smell might emanate from the infected nail.
Immediate Actions to Take
- Keep It Clean: Use warm water and a gentle antiseptic to clean the area, ensuring you dry it well afterward.
- Avoid Further Injury: Discourage your puppy from licking or biting the problematic nail. Consider using an e-collar or protective booties if needed.
- Limit Activity: Minimize actions that could worsen the infection, such as vigorous play or digging.
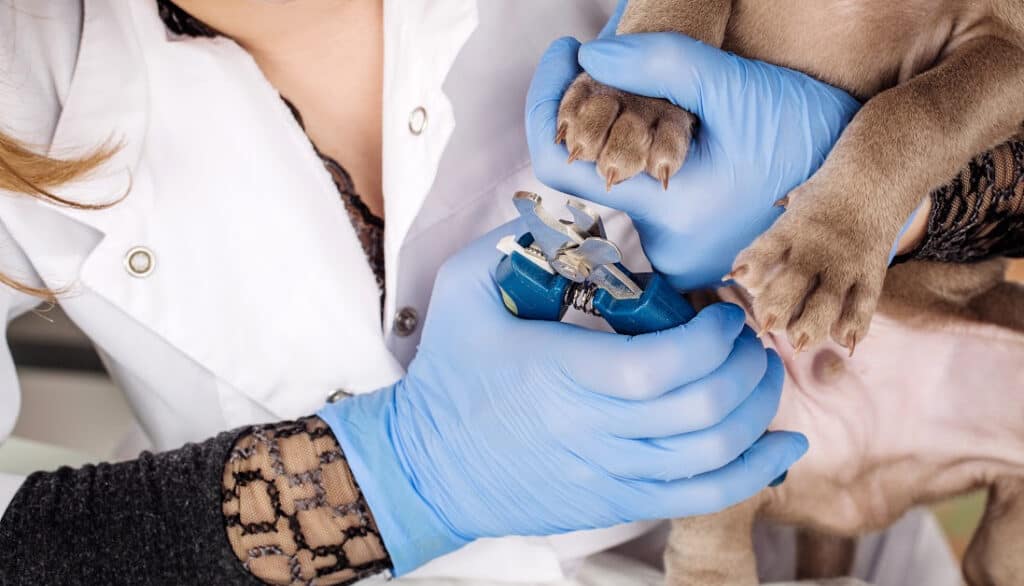
Visit the Vet
It’s essential to consult a veterinarian when you spot signs of an infection:
- Professional Diagnosis: The vet can confirm if it’s indeed an infection or another issue.
- Medication: Depending on the diagnosis, antibiotics, antifungal meds, or ointments might be prescribed.
- Guidance: The veterinarian will offer valuable advice on aftercare and preventive steps to avoid future issues.
Preventing Future Infections
- Regular Nail Trims: Maintaining a proper nail length can reduce injury risks, which might become gateways for infections.
- Paw Washes: Clean your puppy’s paws after outdoor adventures, especially if they’ve explored muddy terrains.
- Check for Injuries: Regularly examine your puppy’s paws and nails for signs of damage or abnormalities.
While puppy nail infections can be alarming, with the correct approach, they are entirely manageable. Stay attentive to your puppy’s needs, seek timely veterinary advice, and invest in preventive care. Those tiny paws, laden with boundless joy and affection, truly deserve the utmost attention and care!
How to Stop Puppy Nails from Bleeding
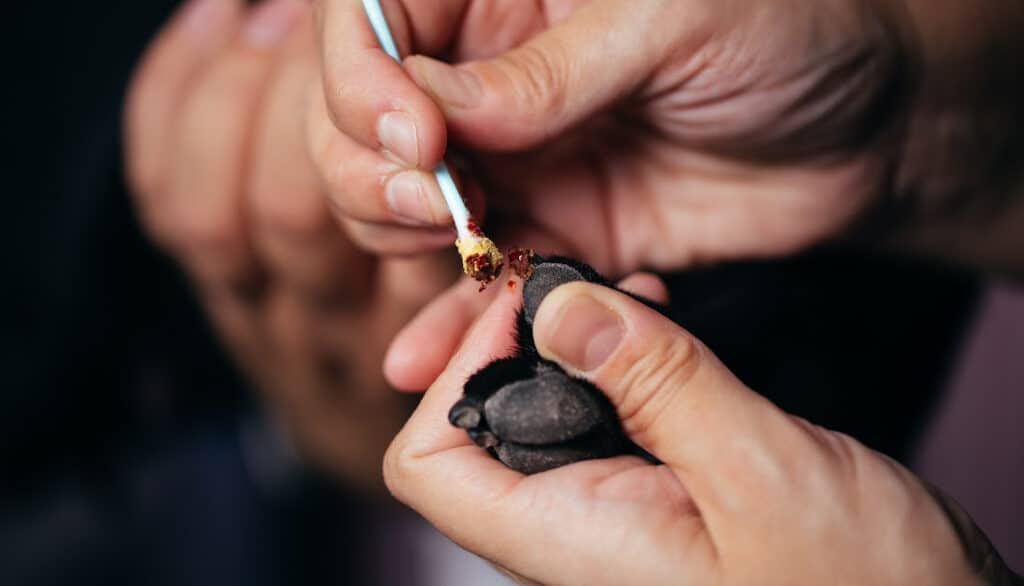
We’ve all been there. That heart-sinking moment when, after a nail trim, you notice a tiny bead of blood forming at the tip of your puppy’s nail. Whether you’re a seasoned dog owner or a newbie, causing your pup any discomfort can make you feel gutted. Accidentally cutting into the ‘quick’ of the nail is a common mishap, but thankfully, it’s one that can be swiftly managed. Let’s navigate how to stop the bleeding and ensure your puppy is comfortable and safe.
Immediate Steps to Take
- Stay Calm: Your puppy can pick up on your emotions. If you panic, they might too. Breathe deeply and remember, while it’s unpleasant, it’s usually not a severe injury.
- Apply Styptic Powder: This is a must-have in your pet first aid kit. Dab a small amount of styptic powder on the bleeding nail using a cotton ball or swab. The powder quickly stops the bleeding and aids in clotting. If you don’t have styptic powder on hand, cornstarch or baking soda can serve as temporary alternatives.
- Apply Pressure: Using a clean cloth or tissue, gently apply pressure to the nail for a few minutes or until the bleeding stops.
- Comfort Your Puppy: Offer some soothing words and gentle pets. A treat can help distract them from the discomfort and also act as a reward for being brave.
Post-Care and Monitoring
- Avoid Immediate Play: Try to keep your puppy calm for a little while to prevent further bleeding. Avoid games that might result in them hitting the injured nail.
- Inspect the Nail: Over the next day, take a few moments to inspect the nail. Ensure it’s healing and not showing signs of infection like swelling or discharge.
- Clean the Area: Gently clean the affected nail with some warm water to prevent any potential infections.
- Note for Next Time: If you’ve identified the quick this time, you’ll have a better idea of where to avoid cutting during the next nail trimming session.
Prevention Tips
- Invest in Good Lighting: Ensure you’re trimming your puppy’s nails in a well-lit environment so you can clearly see the nail structure.
- Go Slow: Especially if you’re new to nail trimming or if your dog has dark nails, make small cuts to gauge the nail’s structure.
- Regular Trims: Regular nail trims can help the quick recede, making it easier to trim without hitting it.
Accidentally causing your puppy’s nail to bleed can be distressing, but remember, mistakes happen even to the best of us. With the right knowledge and tools at hand, you can quickly manage the situation, ensuring your pup’s wellbeing and further cementing your bond. Because after all, being there for our furry friends, especially during their little mishaps, is what pet parenting is all about.
Common Questions About Puppy Nails
Puppy nail care might seem straightforward, but there are so many nuances and questions that pop up along the way. From their growth rate to their color, let’s address some of the most commonly asked questions about puppy nails.
How Fast Do Puppy Nails Grow?
Puppy nails tend to grow quite rapidly. On average, you might find the need to trim your puppy’s nails every 3-4 weeks. However, the exact growth rate can vary based on breed, age, diet, and genetics. Regular walks, especially on concrete or asphalt, can also naturally wear down the nails and reduce the frequency of trims.
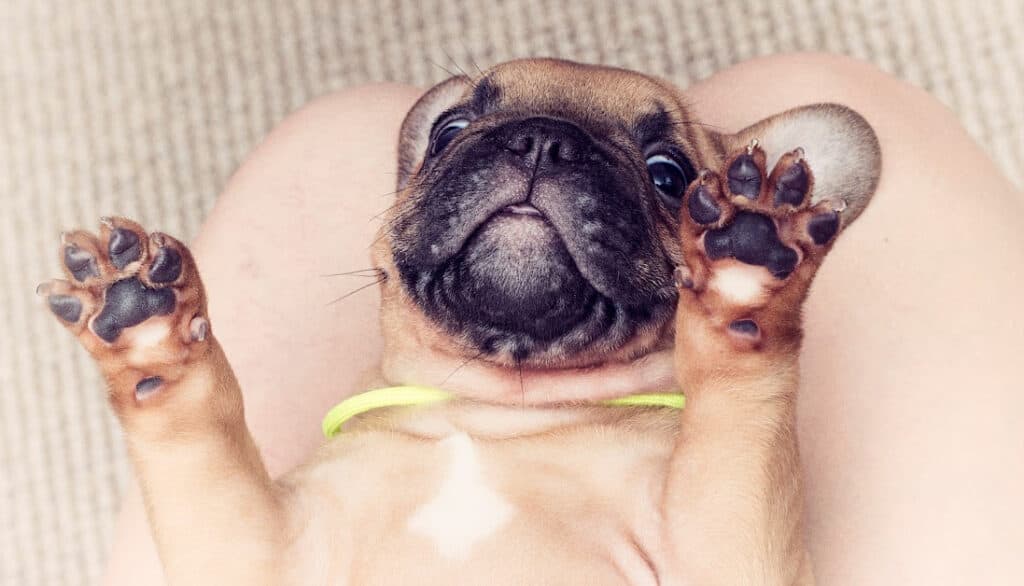
Why are My Puppy’s Nails White?
White or clear nails are just one of the many natural nail color variations in dogs. The color of a dog’s nails is determined by the pigments produced by their body. If your puppy has white or clear nails, it simply means there’s a lack of pigmentation. It’s entirely normal and nothing to be concerned about.
Why are My Puppy’s Nails Black?
Black nails, just like white ones, are a natural color variation. If your puppy has black nails, it means there’s a presence of melanin, the pigment responsible for darker shades. Some dogs can even have a mix of black and white nails, which is entirely normal.
Do Puppy Nails Fall Out?
Puppy nails don’t “fall out” like baby teeth. However, they can break or chip if they’re too long or if the puppy is active on rough surfaces. Regular trims and nail maintenance can help prevent breaks and splits.
Can I Paint My Puppies Nails?
Yes, but with caution! If you wish to paint your puppy’s nails, ensure you’re using a dog-safe nail polish. These polishes are non-toxic and specifically formulated for pets. Never use human nail polish, as it can contain harmful chemicals. Also, be sure your puppy doesn’t ingest any polish or polish remover.
Why are my Puppy’s Nails Peeling?
Peeling or splitting nails can be a result of various factors:
- Trauma: If your puppy has been especially active or has dug into rough terrains, their nails might get chipped or peeled.
- Diet: Nutritional deficiencies can lead to weaker nails. Ensure your puppy is on a balanced diet.
- Health Issues: Certain health conditions or infections can lead to nail problems. If you notice excessive peeling, it might be a good idea to consult a vet.
Conclusion
Navigating the world of puppy nail care can initially feel like a walk on a rocky path – full of uncertainties and potential little mishaps. But with the right knowledge, tools, and a sprinkle of patience, it transforms into a bonding journey, one where you’re ensuring those adorable paws remain in the pink (or black, or white) of health.
Each scratch, paw tap, or playful leap is a testament to your care, echoing the trust your puppy places in you. So, whether you’re mastering the art of the grind, considering a splash of color, or soothing a minor boo-boo, always remember: it’s not just about nails. It’s about building moments, trust, and ensuring your furry friend treads through life with confidence and comfort.
In the vast landscape of puppy parenthood, nails are but a small chapter. Yet, they symbolize the care, commitment, and love we pour into every aspect of our pups’ lives. So, here’s to many more nail trims, cuddles, and tail wags. After all, every little clip and file echoes the heartbeat of the bond we share with our four-legged companions.