We’ve all had those unexpected, slightly panicky moments when our fur-babies face a minor mishap—like getting a pesky splinter in your dog’s paw. While it might seem like a small issue, leaving it unattended can lead to discomfort or even infections for your four-legged friend. And we all want our pups to be trotting around happily and healthily, don’t we?
So, if you’ve noticed your doggo taking those awkward steps or continuously licking their paw, they might have picked up an unwanted wood piece during their latest adventure. But fret not! This guide will walk you through a step-by-step process, vet-approved, to safely remove that splinter and treat the area right in the comfort of your home. And, if you’re still unsure, we’ve got expert Q&A to help ease your concerns. Let’s ensure our canine companions stay safe, one paw at a time!
How to Treat Dog Splinters
- Find the Splinter:
- First and foremost, you need to locate the splinter. This might sound easy, but sometimes splinters can be tiny or hidden under the fur.
- Start by calmly sitting your dog down in a well-lit area. If your dog is anxious or nervous, soothing petting or treats might help.
- Examine the paw pad closely, checking between the toes and the underside of the paw. The splinter might look like a tiny piece of wood or thorn, or even a dark spot under the skin.
- Clean the Area:
- Before you attempt to remove the splinter, it’s essential to ensure the paw is clean.
- Using mild soap and lukewarm water, gently wash the affected area. This not only helps in better visibility but also reduces the risk of infection.
- Pat dry with a soft and clean towel.
- Sterilize Tweezers/Tool:
- Hygiene is key! Before you use tweezers or any other tool, make sure they are sterilized.
- Dab some rubbing alcohol or hydrogen peroxide on a cotton ball and clean the tweezers thoroughly.
- Allow the tweezers to air dry for a minute or two.
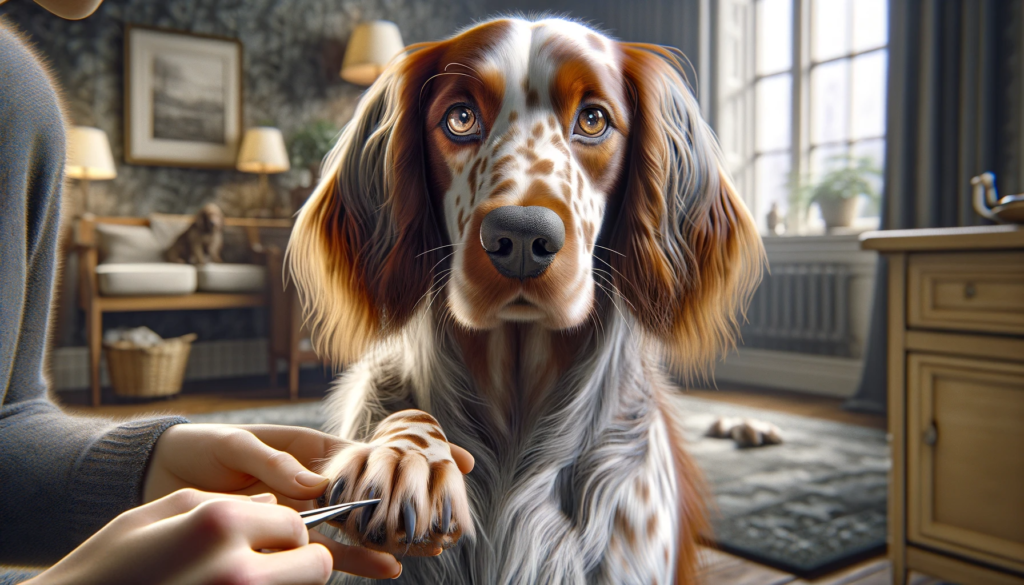
- Removing the Splinter:
- With a steady hand, grasp the end of the splinter using the tweezers. Ensure you have a firm grip.
- Pull gently but firmly, trying to follow the angle at which the splinter entered. This reduces the risk of breaking it midway.
- If the splinter is deeply embedded or you feel resistance, it might be wise to consult a veterinarian.
- Clean Again:
- Once the splinter is out, rinse the paw gently once more.
- To ward off infections, you can apply a pet-safe antiseptic. Remember, some human products might not be suitable for pets, so always check the label or consult with your vet.
Points To Consider
It’s worth noting that while many splinters can be safely removed at home, there will be times when professional intervention is needed. If you ever feel uncertain or if your dog shows signs of distress, it’s always best to contact your vet. They can offer guidance or ask you to come in for a visit. Remember, your dog’s well-being is always the top priority!
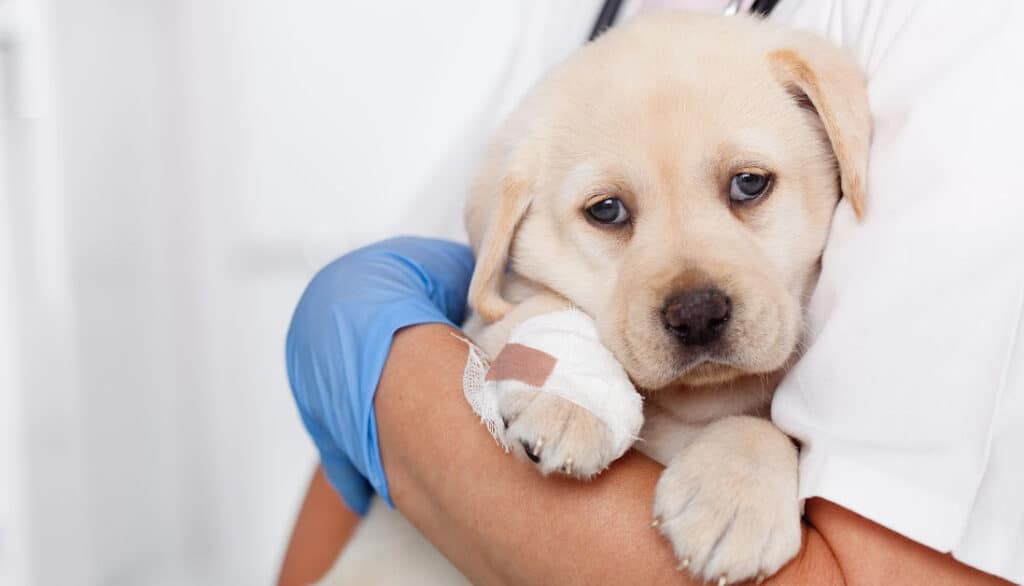
Bandaging the Affected Area:
- To Bandage or Not to Bandage, That is the Question:
- Not every splinter removal will require bandaging. Small, superficial splinters that are easily removed and don’t leave much of a wound might heal just fine without a bandage.
- However, if the splinter was large, deeply embedded, or if there’s a visible wound, then bandaging can help keep the area clean and free from contaminants.
- Antibiotic Ointment:
- If the splinter wound is open or seems deep, applying a thin layer of antibiotic ointment can prevent bacterial infections. Make sure the ointment is safe for pets—some human ointments might contain ingredients that are toxic to dogs if ingested.
- Be cautious: some dogs might try to lick off the ointment. This is one reason why bandaging or using an e-collar might be necessary.
- Wrap Bandage:
- Begin with a non-stick pad or gauze over the wound to protect it. Ensure that it covers the wound entirely.
- Use a soft, breathable bandage to wrap around the paw. Make sure you wrap it securely, but not too tight as it can cut off circulation.
- You might need some medical tape or vet wrap to keep the bandage in place. These are cohesive and usually stick to themselves, not the fur.
- Protect from Removing Bandage – E collar:
- Even with the best bandaging techniques, some dogs can’t resist the temptation to nibble at their bandages.
- An Elizabethan collar (often referred to as an “e-collar” or “cone”) can be used to prevent your dog from reaching and tampering with the bandaged area.
- Ensure the collar is appropriately sized so your dog can’t reach their paw but can still eat and drink comfortably.
Points To Consider
When bandaging your dog’s paw, always monitor for signs of swelling, excessive warmth, or any discharge, as these can be indicators of an infection or that the bandage is too tight. If you’re unsure about your bandaging technique or if the wound seems to be worsening, always seek advice from your veterinarian. Remember, while at-home care can be effective for minor injuries, professional guidance ensures your dog’s safety and well-being.
Things You’ll Need
- Tweezers:
- Preferably with a pointed end for precision. This is your main tool for splinter removal.
- Mild Soap:
- To clean the affected paw area before and after splinter removal. A pet-friendly or hypoallergenic soap is ideal.
- Clean Towels:
- For drying the paw after washing and for resting the paw on during the removal process. It’s good to have a couple of these handy.
- Rubbing Alcohol or Hydrogen Peroxide:
- Essential for sterilizing the tweezers or any other tool you might be using. Remember, this is for tool sterilization and not for direct application on the wound as it can be too harsh.
- Antiseptic:
- A pet-safe antiseptic solution or wipe can be beneficial for cleaning the wound after the splinter has been removed to prevent infections.
- Antibiotic Ointment:
- Pet-safe antibiotic ointment can help in preventing bacterial infections post-splinter removal. Always read labels or consult with your vet for an appropriate product.
- Non-Stick Pad or Gauze:
- For covering the wound before bandaging, this helps absorb any discharge and protects the wound from contaminants.
- Soft, Breathable Bandages:
- These are used to wrap around the paw. They should be stretchy but not overly tight. Vet wrap, which is cohesive and sticks to itself, is particularly useful.
- Medical Tape or Vet Wrap:
- To secure the bandage in place, ensuring it doesn’t unravel as your dog moves.
- E-collar (Elizabethan Collar):
- In case your dog tends to nibble or lick the affected area, this can prevent them from doing so, allowing the wound to heal without disturbances.
Points To Consider
Before starting the process, it’s a good idea to gather all these items and have them within arm’s reach. This ensures you don’t have to leave your dog’s side midway, especially if they’re anxious or in discomfort. Being prepared not only makes the process smoother but also faster, reducing stress for both you and your furry friend.
Tips for Treating Splinters in Dog Paws:
- Stay Calm and Reassuring:
- Your dog can sense your emotions. Stay calm and speak in a soothing voice to reassure your pet that everything is okay. This will make the process less stressful for both of you.
- Check Other Paws:
- If your dog stepped on something that caused a splinter, there’s a chance they might have more in their other paws. Always do a quick check of all paws to ensure there aren’t any additional splinters.
- Avoid Using Sharp Objects:
- While tweezers are recommended, avoid using needles or other sharp objects that might accidentally harm your dog or push the splinter in deeper.
- Look for Signs of Infection:
- After removing the splinter, monitor the affected area for a few days. Redness, swelling, pus, or continuous licking can be signs of an infection. If you notice any of these, consult your veterinarian.
- Distractions Work Wonders:
- A favorite toy or some treats can keep your dog distracted, making the process smoother. This is particularly useful if you’re working alone without someone to help hold your pet.
- Non-Stick Pad or Gauze:
- For covering the wound before bandaging, it helps in absorbing any discharge and protecting the wound from contaminants.
- Soft, Breathable Bandages:
- These are used to wrap around the paw. They should be stretchy but not overly tight. Vet wrap, which is cohesive and sticks to itself, is particularly useful.
- Medical Tape or Vet Wrap:
- To secure the bandage in place, ensuring it doesn’t unravel as your dog moves.
- E-collar (Elizabethan Collar):
- In case your dog tends to nibble or lick the affected area, this can prevent them from doing so, allowing the wound to heal without disturbances.
Remember, while these tips provide guidance on handling splinters at home, your veterinarian is always the best source of advice for your pet’s unique situation.
Conclusion
Navigating the challenges of pet parenthood can sometimes throw us a curveball, like dealing with a tiny but troublesome splinter in our dog’s paw. While it’s a minor hiccup, addressing it with care and knowledge ensures our furry friends continue to enjoy their playful antics without discomfort. Armed with the steps, tools, and tips from this guide, you’re well-prepared to tackle such situations with confidence. Always remember, at the heart of every action is the well-being and comfort of our beloved four-legged companions. If ever in doubt, always seek the expertise of a veterinarian. Here’s to many more happy, splinter-free adventures with your canine buddy!
Frequently Asked Questions
A: Generally, minor splinter wounds start to heal within a few days. However, deeper or larger wounds might take a week or more. Always monitor the area for signs of infections or complications and consult your vet if you notice any abnormalities.
A: If your dog is overly anxious, it might be best to seek professional help to ensure neither you nor your pet gets hurt in the process. In the meantime, offer comfort, use soothing tones, and provide distractions like toys or treats to calm them.
A: Limping might indicate pain or discomfort. It’s possible there might be another splinter you missed, or the area could be inflamed from the initial injury. If the limping persists for more than a day or if you notice any signs of infection, it’s a good idea to consult your veterinarian.
A: Some human antibiotic ointments can be safe for dogs, but others might contain ingredients that are toxic if ingested. Since dogs often lick their paws, it’s essential to ensure any ointment you use is pet-safe. Read labels carefully and consult with your vet if unsure.
A: Regularly checking your dog’s paws after walks, especially if you’ve ventured into wooded areas or unfamiliar terrains, is a proactive approach. Additionally, steer them away from broken branches or debris and consider using protective dog booties when walking in areas where splinters might be a concern.