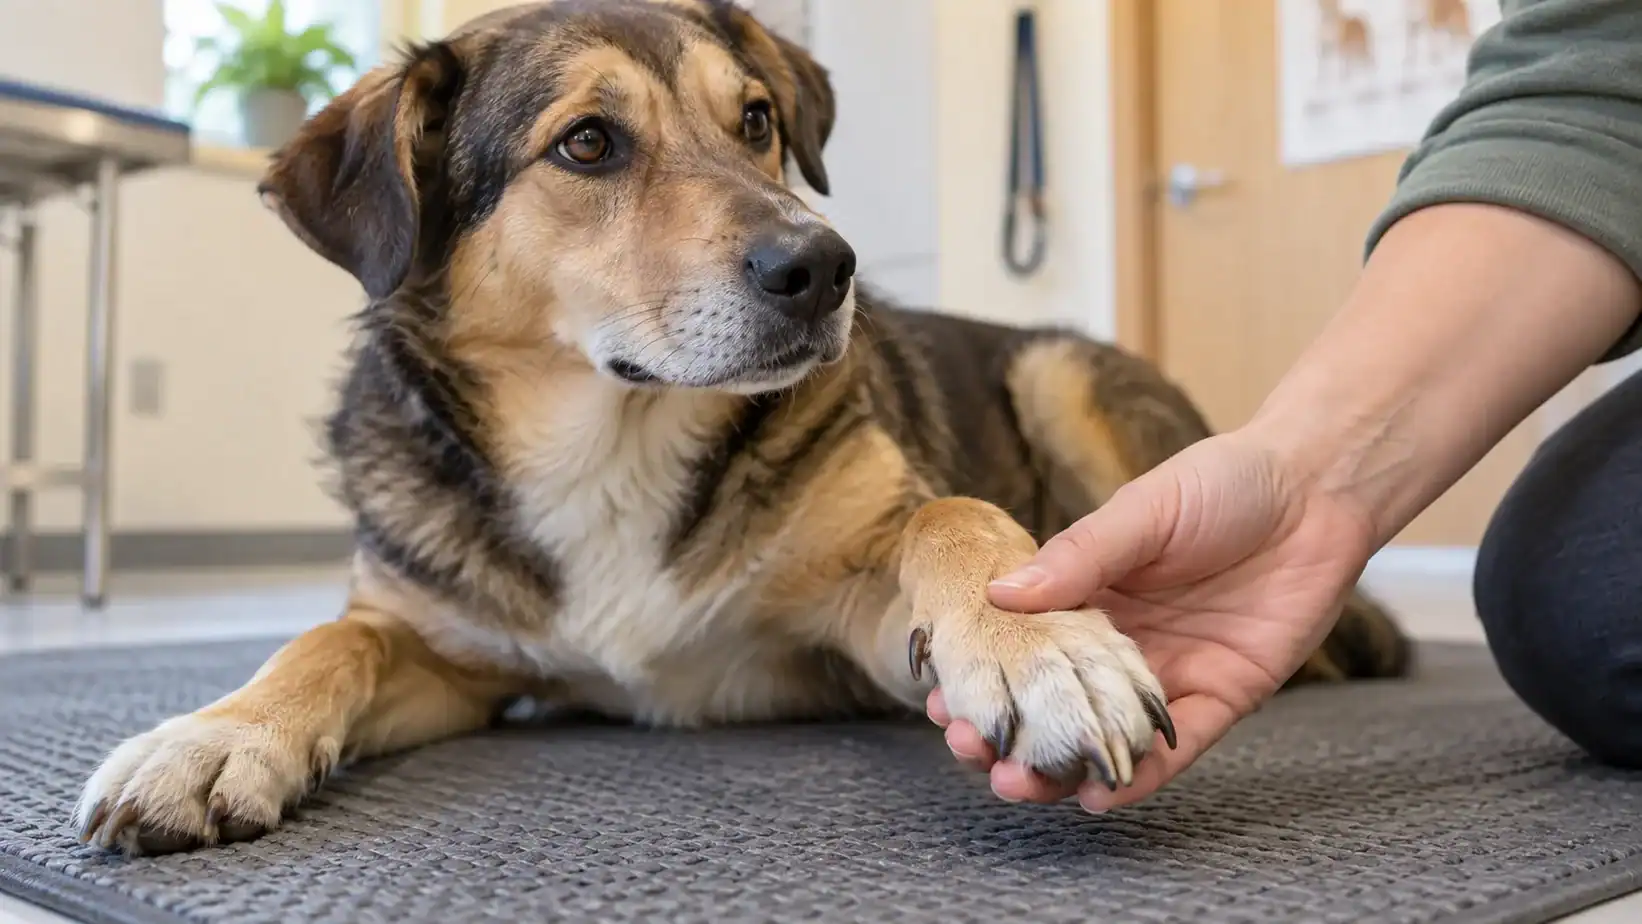
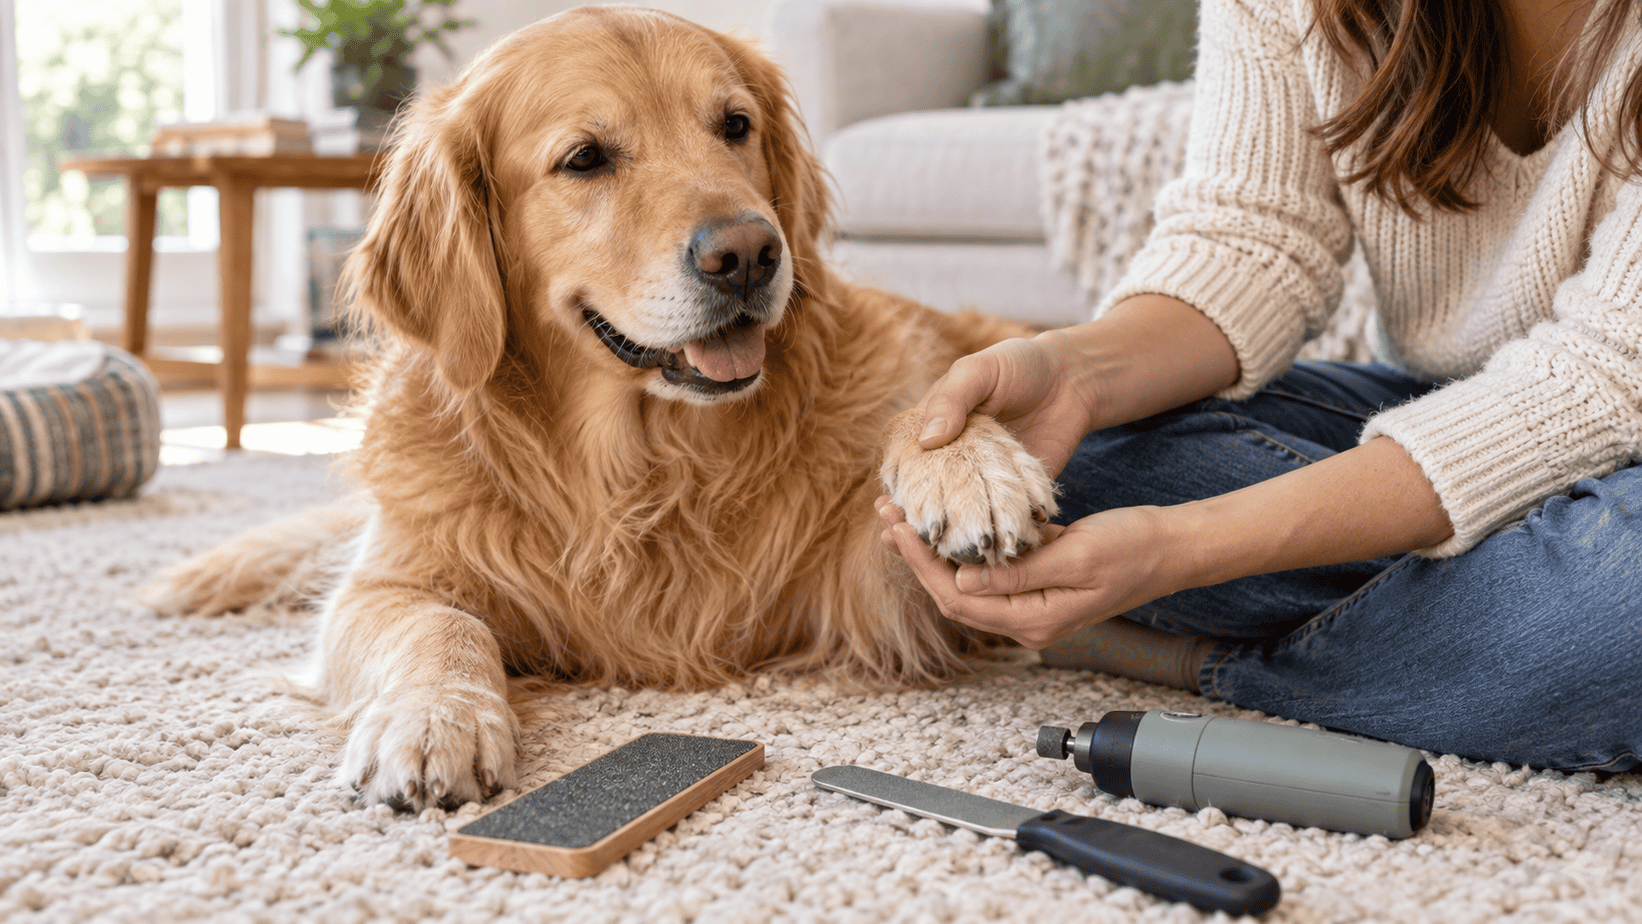
You can file your dog’s nails naturally with a scratch board, nail grinder, sturdy hand file, regular pavement walks, or ordinary activity on firm surfaces. Scratch boards and grinders give you the most control. Walking and everyday activity help some dogs, but they do not replace regular nail checks.
“Natural” does not mean every method is right for every dog. A dog who loves to scratch may do beautifully with a board, while a dog who dislikes paw handling may accept a grinder only after slow practice. The best plan is the one that shortens all the necessary nails without creating fear, heat, pad soreness, or uneven wear.
Quick Comparison of Natural Nail-Filing Methods
| Method | Control | Best Use | Common Limitation |
|---|---|---|---|
| Scratch board | High once trained | Dogs who dislike paw handling; front nails | May miss rear nails and dewclaws |
| Nail grinder | High | Gradual shortening and smooth edges | Noise, vibration, heat, hair, and dust |
| Hand file | Very gradual | Thin nails and finishing rough edges | Slow on thick nails |
| Pavement walks | Low | Supplemental wear during normal exercise | Wear varies by gait, surface, and nail |
| Everyday activity | Low | General maintenance on firm terrain | Soft ground may provide little filing |
You can combine methods. A scratch board may maintain the front nails while a hand file or grinder handles dewclaws and nails that wear unevenly.
1. Teach Your Dog to Use a Scratch Board
A scratch board is a stable board covered with an abrasive surface. Your dog learns to drag a paw across it, filing the nail tips without having each toe held. This can be a wonderful cooperative-care option for dogs who become tense when clippers appear.
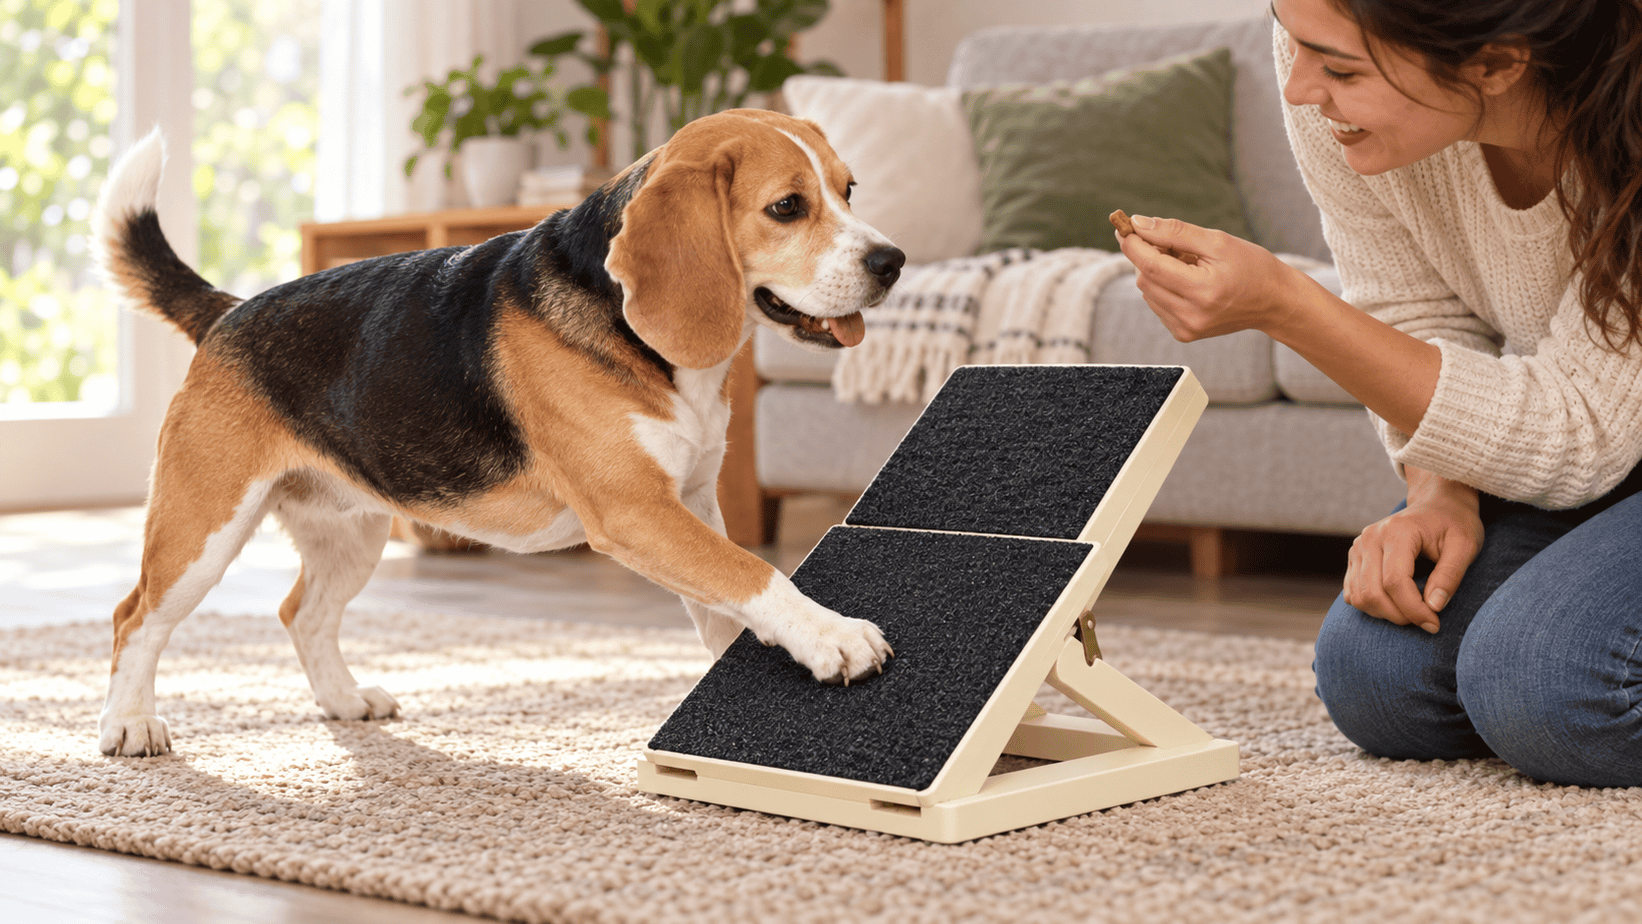
A stable abrasive board can let a dog file its own front nail tips through a voluntary scratching behavior. Reward short, comfortable sessions and inspect each nail afterward.
What You Need
- A stable board, clipboard, or purpose-made scratch pad
- Abrasive paper secured flat with no lifted corners or exposed adhesive
- Small treats
- A non-slip floor
- A towel, washcloth, or target your dog already likes to paw
Choose a surface coarse enough to file the nail but not so rough that it scrapes the pads. Check the abrasive frequently and replace it when it becomes torn, loose, or clogged.
Step-by-Step Scratch-Board Training
- Place the board flat on the floor and reward your dog for looking at or approaching it.
- Reward a voluntary paw touch. Do not pick up the paw and rub it across the board.
- Place a treat under a folded washcloth or use a familiar paw target to encourage a short scratching motion.
- Mark and reward each scratch. Stop after a few good repetitions.
- When the behavior is easy, slowly raise the board to a comfortable angle. A mild tilt often helps the front nails contact the surface more evenly.
- Inspect every nail after the session. Stop before the tips become tender, thin, or uneven.
Short sessions are enough. The goal is a confident, repeatable behavior, not rapid removal on the first day.
What a Scratch Board May Miss
Most dogs lead with one front paw, so one side can wear faster. Change your position or cue the opposite paw separately. Rear nails usually need a different setup and more advanced training, and dewclaws may never touch the board at all.
Check every toe rather than assuming the board has finished the job.
2. Use a Dog Nail Grinder
A grinder removes nail in small amounts and leaves a smooth edge. It is not exactly “natural,” but it is one of the best clipper-free choices when you want direct control.
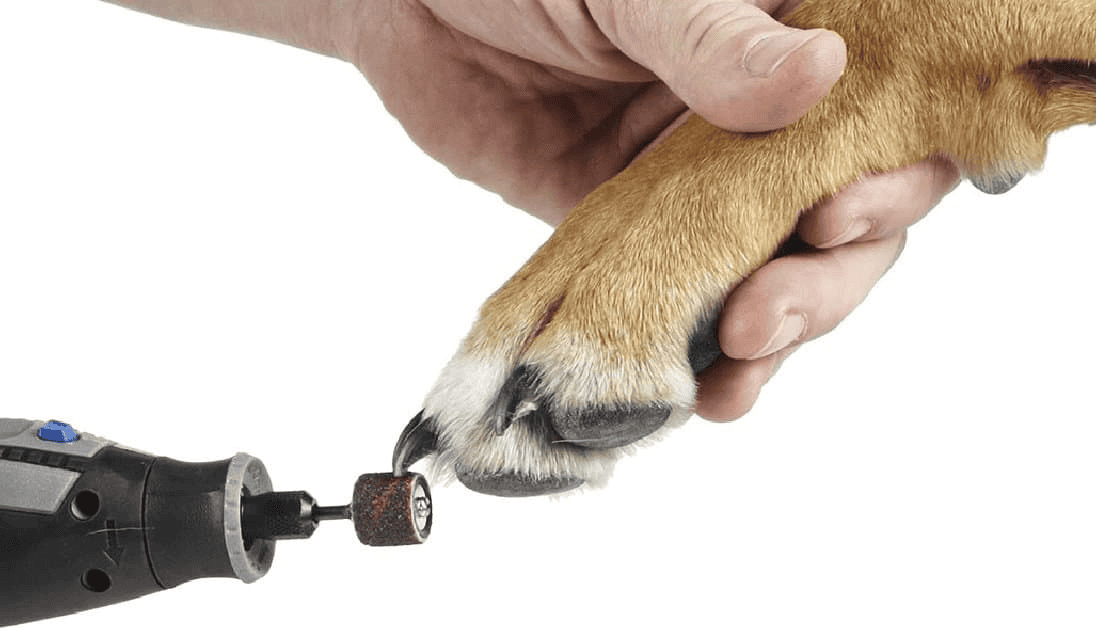
A grinder offers controlled, gradual shortening and a smooth edge. Introduce its sound slowly, keep hair clear, and use brief touches with cooling breaks.
Start with the grinder turned off. Let your dog investigate it, reward calm behavior, then introduce the sound from a comfortable distance. Build toward a brief touch on one nail. One or two successful nails can be a complete first session.
Keep long hair away from the rotating bit. Touch the grinder to the nail for only a second or two, then lift it away and let the nail cool. Recheck the nail often. A grinder can still reach the quick, and holding it in one place creates heat quickly. It can also catch hair, scrape skin, and create irritating dust, so good light and ventilation help.
3. File by Hand
A hard metal, glass, ceramic, or sturdy emery file can smooth sharp edges and shorten thin nails gradually. It is quiet and gives you excellent tactile control, which suits dogs who tolerate gentle paw handling but dislike motor noise.
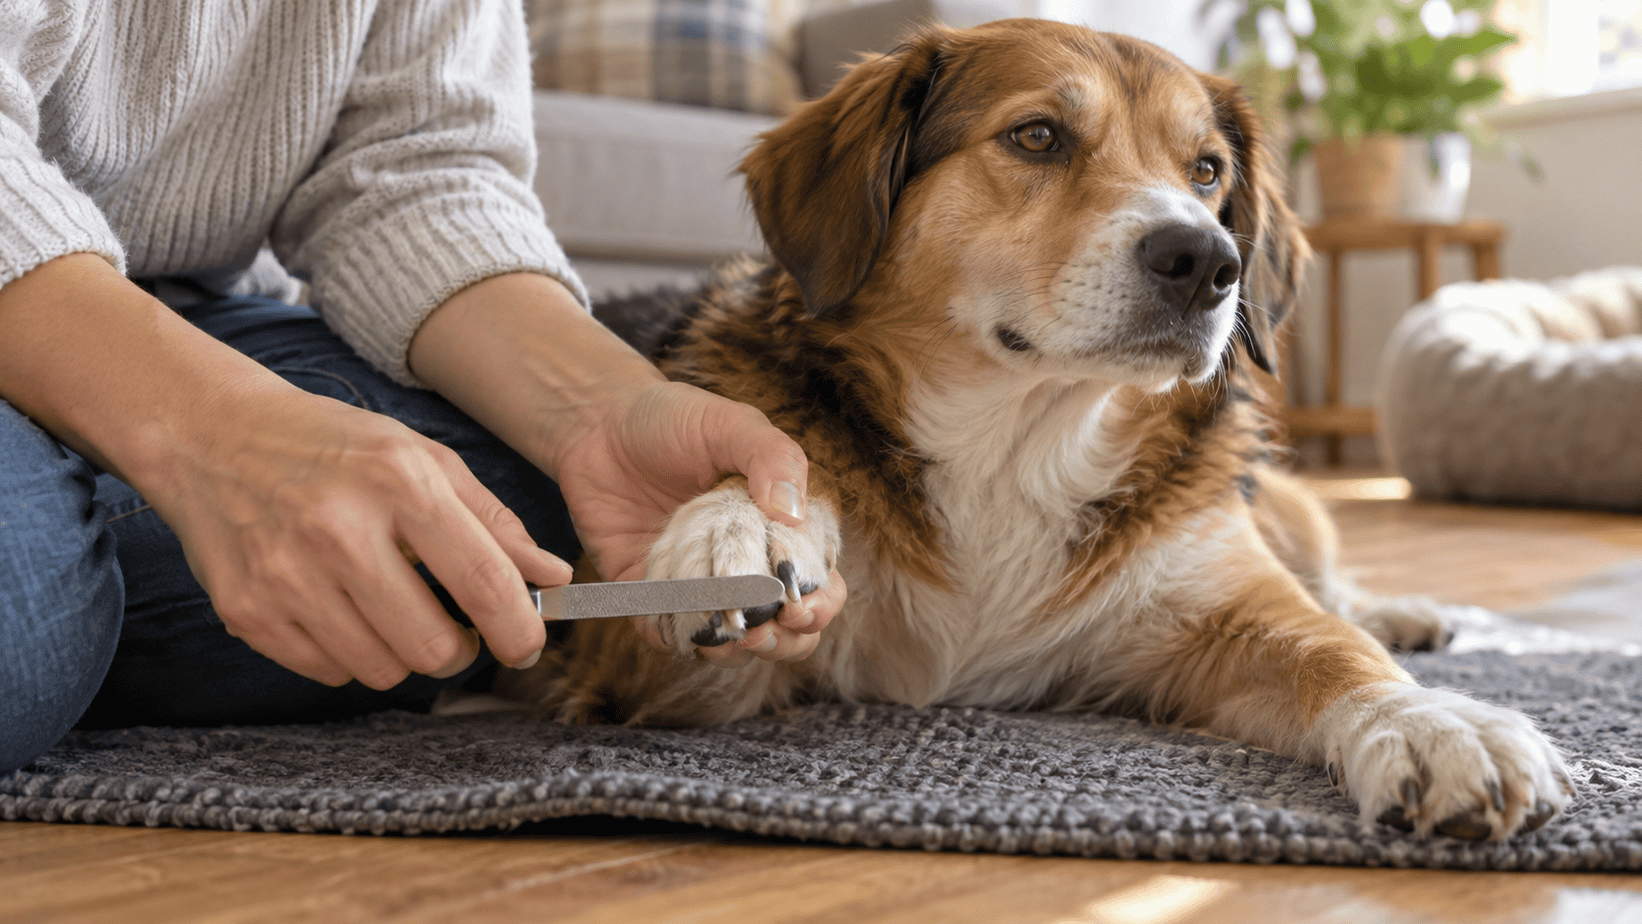
A sturdy hand file is quiet and useful for small changes or smoothing rough edges. Support one toe gently and pause often to check progress.
Support one toe without twisting the leg. File the very tip with controlled strokes, pause often, and look at the nail from the side and the cut end. There is no universal 45-degree rule because nail shape varies. Follow the natural curve and stop whenever the center changes color or texture, or your dog becomes uncomfortable.
A lightweight human emery board may work for a puppy or very thin nail, but thick dog nails wear it out quickly. A dog-specific file is sturdier and easier to control.
4. Let Pavement Add Natural Wear
Regular walks on pavement or another firm, safe surface may help file the nails that contact the ground. Some dogs need fewer trims when they walk on hard surfaces often. Others still grow long front nails, outer nails, or dewclaws despite plenty of exercise.
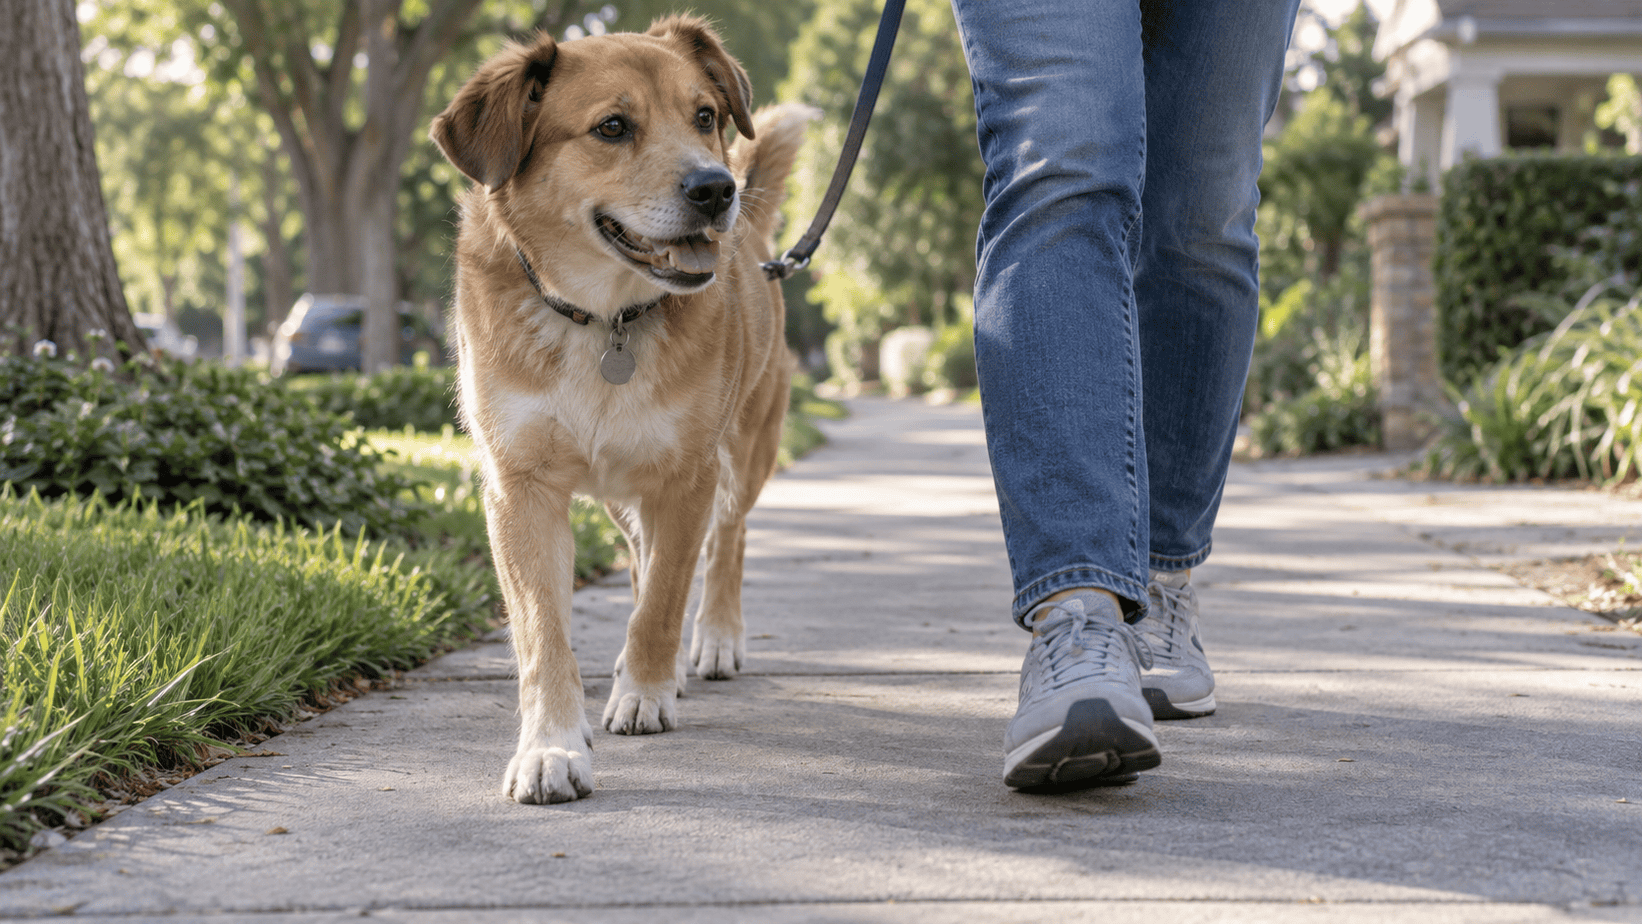
Keep the walk appropriate for your dog’s age, conditioning, joints, and paws. Do not add long trots or extra mileage only to grind down nails. Check the surface temperature with your hand, avoid sharp or chemically treated ground, and inspect the pads after the walk. If the pads look pink, scuffed, cracked, or sore, choose a gentler surface and another nail-care method.
5. Use Everyday Activity as Maintenance
Running and playing on firm natural ground can contribute to nail wear, but the effect is unpredictable. Grass, loose sand, soft soil, and forest trails may provide very little abrasion. Gait also matters. One paw or one set of nails may wear while another barely changes.
Let normal activity support nail care rather than turning digging or rough-surface play into a treatment. Deliberately encouraging hard digging can scrape pads, crack nails, or over-wear a few toes. Keep checking the whole paw and use a board, file, or grinder for the nails that activity misses.
How to Know Whether the Nails Are the Right Length
Look at function instead of relying on one rule. Nails need attention when they curl, snag, press the toes sideways, change paw placement, or interfere with comfortable movement. Clicking on a hard floor can be a useful clue, but some healthy nails contact the ground because of toe shape or posture.
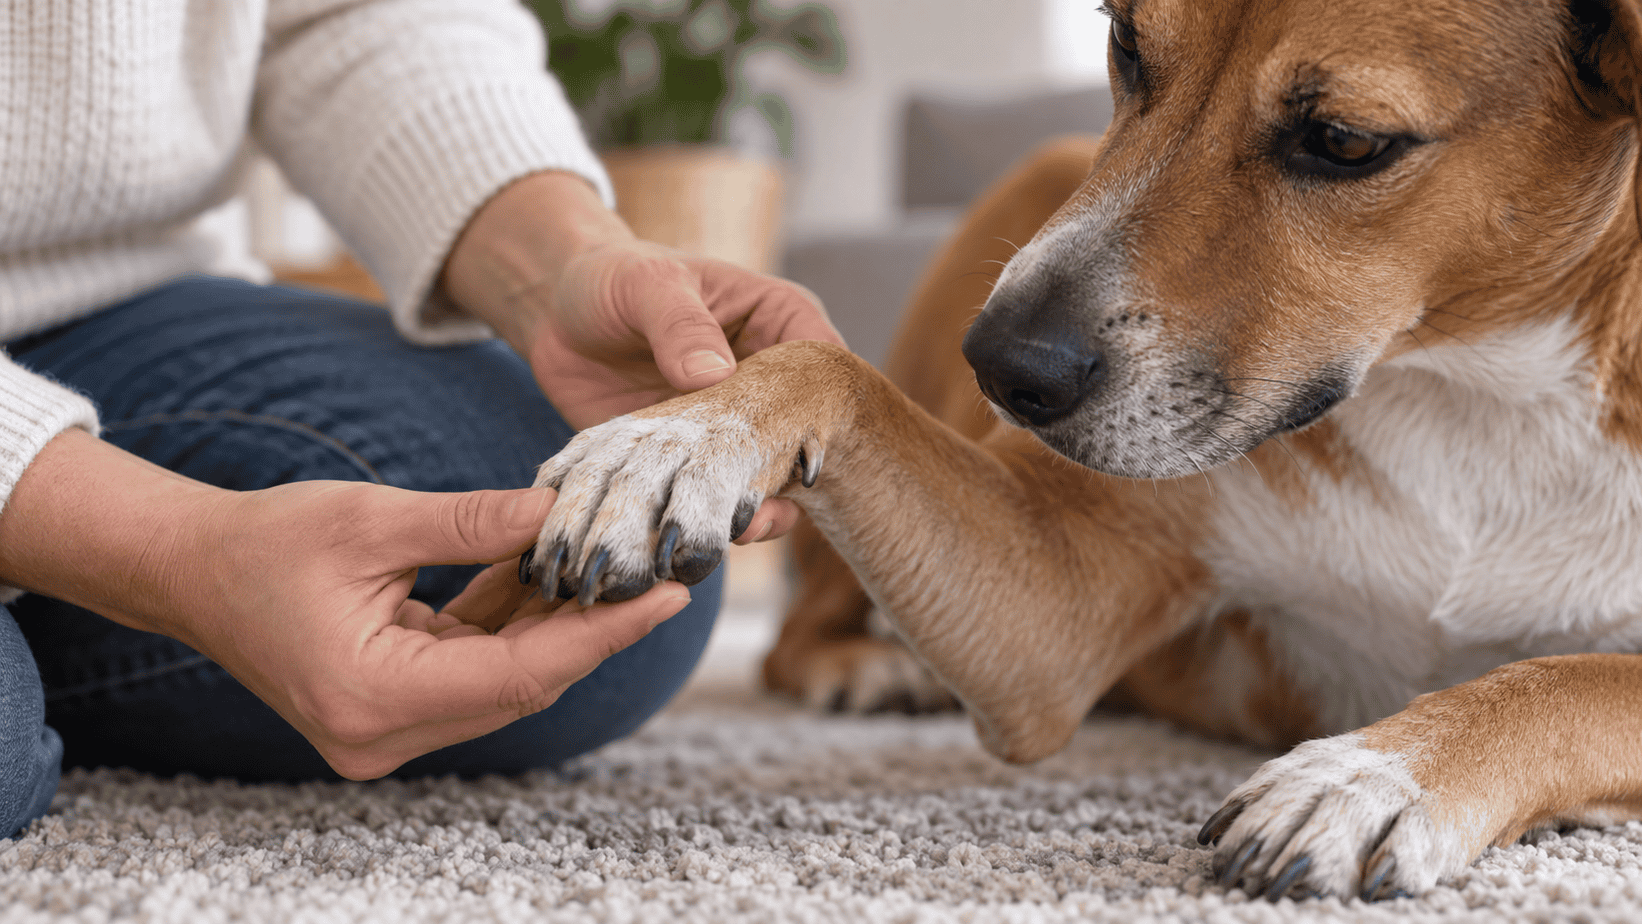
Check dewclaws separately. Because they sit higher on the leg, they usually receive no natural wear and can curve toward the skin.
What if the Nails or Quicks Are Overgrown?
If a nail has stayed long, the quick may extend closer to the tip. Trying to reach an ideal length in one session can cause pain and bleeding. Remove a small amount, then repeat after about a week. Gradual filing may allow the quick to recede over time, but the pace differs from dog to dog.
Get professional help for a nail that curls into the skin, splits near the base, looks infected, causes significant pain, or changes the way your dog stands or walks. Severe fear or aggression is also a good reason to ask a groomer or veterinary team for support while you build cooperative skills at home.
How to Keep Nail Filing Low Stress
Start well before the nails are urgent. Touch your dog’s shoulder, then leg, then paw, rewarding relaxed responses. On later days, introduce the file or board. Add sound and vibration only after the earlier step feels easy.
Watch your dog’s body language. Pulling away, freezing, lip licking, hiding, growling, or snapping means the session is too difficult. Make the next step smaller. Ending after one calm nail is better than forcing all four paws and making the next session harder.
Frequently Asked Questions
Sometimes for the front nails, but rarely for every nail. Many dogs favor one paw, and the board may not reach rear nails or dewclaws. Inspect all toes and use another method where needed.
It may work for a puppy or very thin nail, but it is usually too flimsy for thick adult dog nails. A sturdy dog nail file, metal file, glass file, or grinder is more efficient.
It helps some dogs, but the result depends on gait, activity, surface, and nail hardness. Keep checking every nail instead of assuming walks are enough.
Remove very small amounts and inspect the fresh surface after each pass. Stop when the center becomes darker, softer, shinier, or more defined, or anytime you are unsure.
Check every one to two weeks. Filing frequency may range from weekly touch-ups to every few weeks depending on growth and natural wear. Dewclaws often need their own schedule.
References
VCA Animal Hospitals. (2025). How to trim a dog’s nails at home. https://vcahospitals.com/know-your-pet/how-to-trim-a-dogs-nails
Veterinary Partner. (2021). Nail boards: An alternative to clipping nails. https://veterinarypartner.vin.com/
Blue Cross. (2025). How to cut your dog’s nails. https://www.bluecross.org.uk/advice/dog/wellbeing-and-care/how-to-cut-your-dogs-nails
Dogs Trust. (n.d.). How to cut your dog’s nails. https://www.dogstrust.org.uk/dog-advice/health-wellbeing/at-home/nails
ABOUT THE AUTHOR