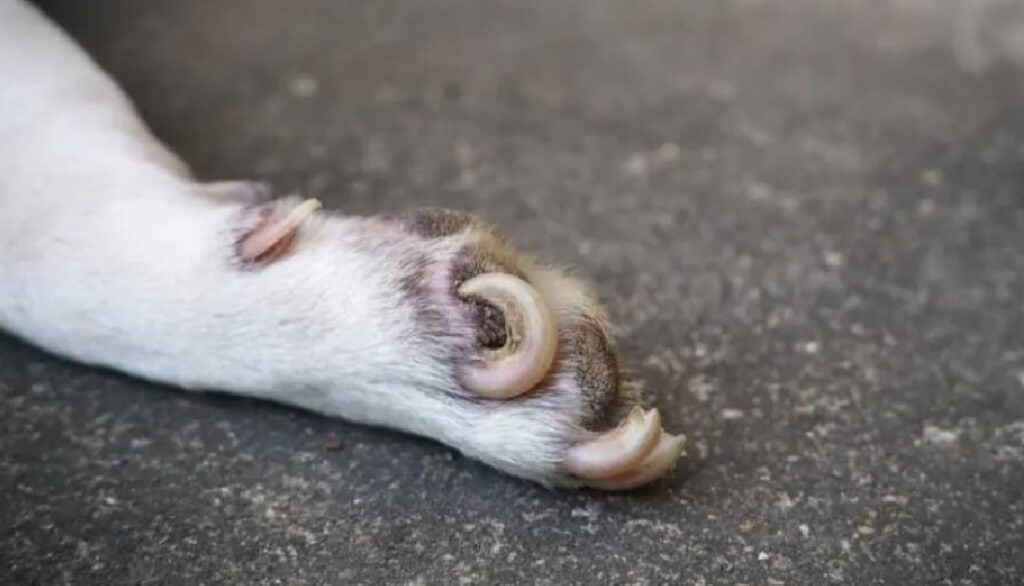
Hey there, fellow dog lovers! If you’ve landed on this blog, chances are you’ve noticed your furry friend’s nails curling under their paws, causing discomfort or even pain. Just like our own nails, our dogs’ nails need regular maintenance to stay healthy and comfortable. Curled dog nails can pose a real challenge, and knowing how to safely address them is crucial for your pet’s well-being. Whether you’re a first-time dog parent or a seasoned canine companion, this guide on “How To Fix Curled Dog Nails” will equip you with the knowledge and techniques to confidently and safely trim those curled under toe nails. Let’s make those pawdicures stress-free and effective! 🐾💅
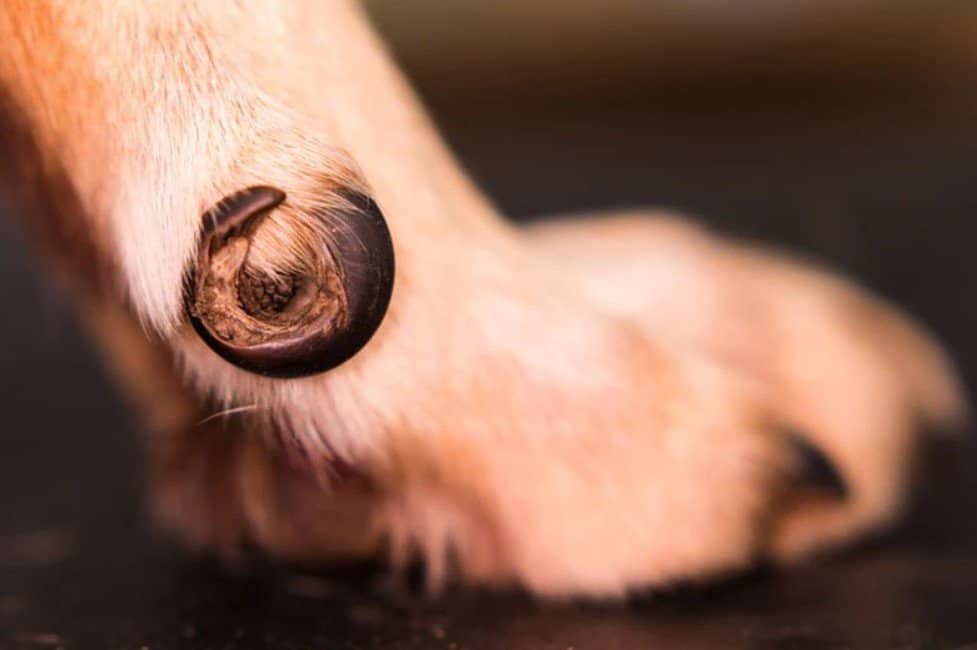
How to Cut Curled Dog Nails
Dogs are part of our family, and just as we’d care for a family member’s needs, our dogs’ health, including their nails, is essential. Curled under nails can cause discomfort and lead to various issues if not addressed promptly. Let’s delve into how you can safely trim curled dog nails at home.
Step 1: Examine the Nail
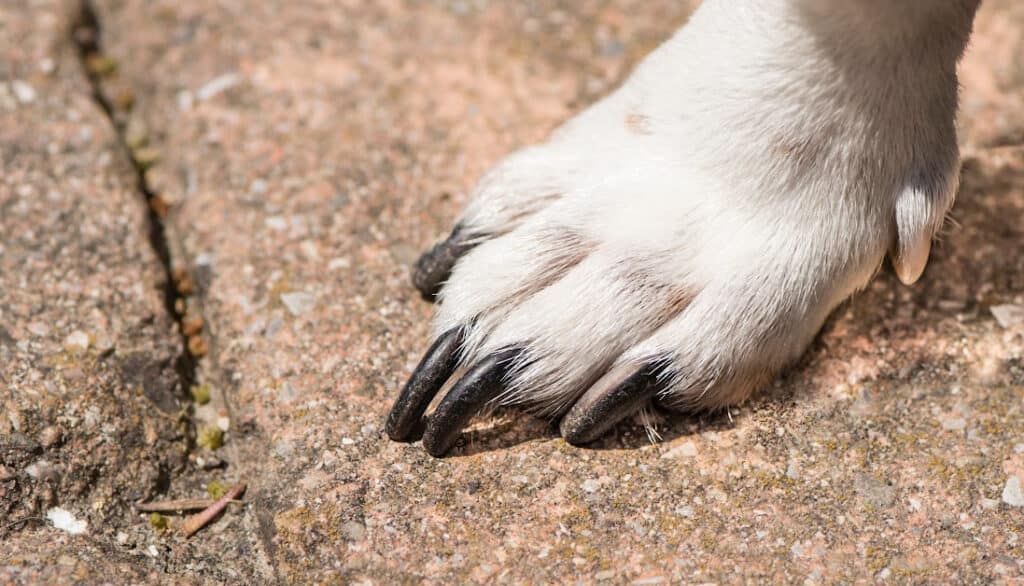
Before diving into the cutting process, it’s essential to take a close look at your dog’s nail. Understanding the structure will help you avoid cutting into the ‘quick’, which is the sensitive part of the nail with blood vessels. For dogs with translucent nails, the quick is the pinkish section. For dogs with darker nails, the task is trickier. Always look for a change in nail texture or color. Knowing where the quick is will guide you on how much you can trim.
Step 2: Get Your Tools Ready
Having the right tools is half the battle. For trimming curled nails:
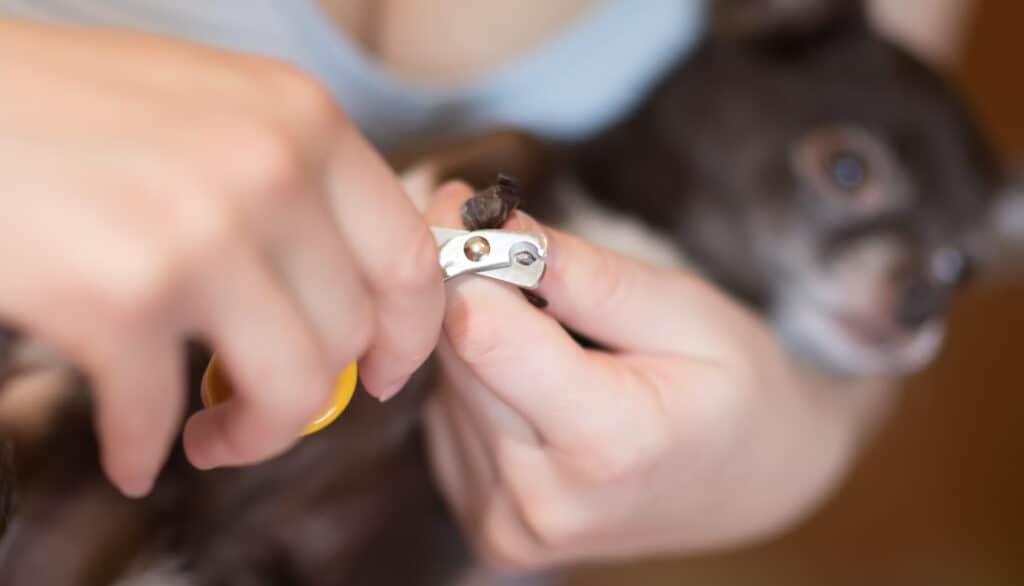
- Dog Nail Clippers: These are specially designed for dogs’ nails, and they come in various forms – guillotine-style, scissor-style, or grinder tools. Choose what you’re most comfortable with.
- Styptic Powder: This is a must-have in case you accidentally cut into the quick. It will help stop the bleeding quickly.
- Treats: Rewarding your dog during and after the process can make it a positive experience for them.
Step 3: Cut the Nail
Position your dog in a comfortable and steady position. If you have someone to assist you by holding the dog, that’s even better. Begin by making small cuts at the tip of the nail, approaching the quick cautiously. If you’re unsure, it’s always better to cut less than to risk cutting too much. If you notice a white or grayish oval inside the nail, stop! This indicates you’re getting close to the quick.
Step 4: Clean the Pad
After trimming, there might be some nail filings or debris. Gently clean the pad using a soft, damp cloth to ensure no remnants can cause irritation. This step is particularly crucial for dogs that have had severely curled nails as they might have accumulated dirt or debris.
Step 5: Dry the Foot
Once you’ve cleaned the footpad, it’s crucial to ensure it’s thoroughly dry to prevent any fungal or bacterial infections. Pat it gently with a soft towel. Avoid using hair dryers unless it’s on a cool setting, as the heat can be uncomfortable or harmful to your dog’s skin.
Remember, if you’re ever unsure or uncomfortable cutting your dog’s curled nails, consulting a veterinarian or professional groomer is always the best course of action. They can provide guidance, or you can leave the task entirely in their experienced hands.
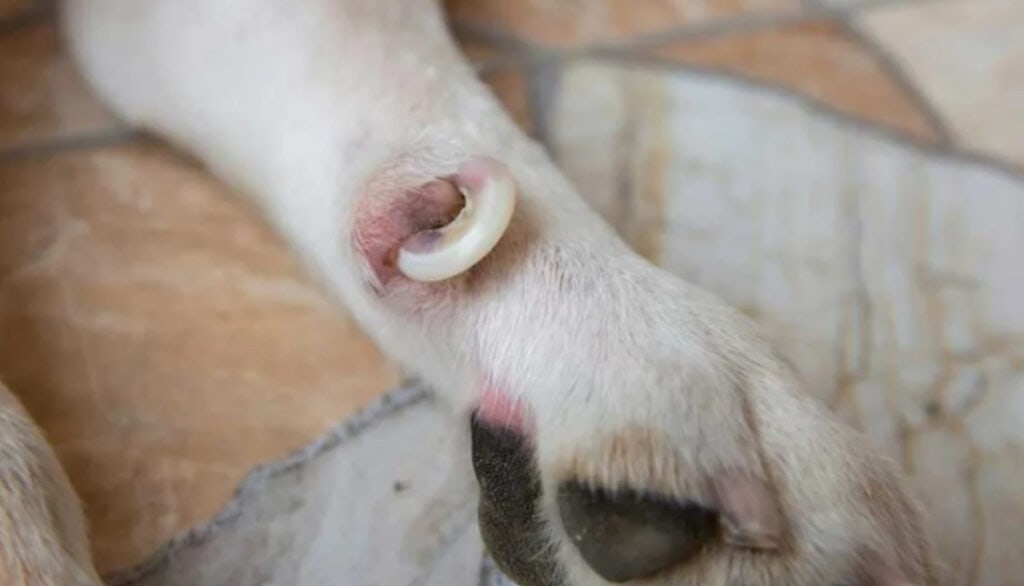
How to Cut a Curled Dew Claw
Dew claws, often referred to as the “thumb” of the dog, are a unique set of nails that are higher up on the foot, and they don’t always make contact with the ground. Because of this, they don’t wear down as naturally as the other nails, making them prone to curling. A curled dew claw can grow into your dog’s skin, leading to pain, inflammation, and possible infections. Here’s how you can safely trim a curled dew claw at home:
Step 1: Understand the Dew Claw
Before proceeding, recognize that the dew claw is structured differently than other nails. Since it doesn’t wear down naturally, it might grow longer, and the quick might extend further than you’d expect. Be cautious and understand the anatomy before you start.
Step 2: Prepare Your Dog
Dew claws can be a bit more sensitive than other nails, so it’s essential to ensure your dog is calm. You might want to play with them or give them a short walk to expend some energy first. Once ready, have them lie down in a comfortable position.
Step 3: Have Your Tools Handy
Just as with other nails, you’ll need:
- Dog Nail Clippers: Ensure they’re sharp and clean.
- Styptic Powder: To stop bleeding in case of accidents.
- Treats: To reward and soothe your dog during the process.
Step 4: Trim the Dew Claw
Hold the dew claw away from the leg to have a clear view. Begin by trimming small bits off the tip, being especially careful as you approach the quick. If the claw has curled into the skin, you might need to approach it from a different angle, cutting bit by bit to avoid hurting your pet.
Step 5: Monitor for Infections
If the dew claw was curled severely or grown into the skin, there’s a risk of infection. After trimming, clean the area gently with an antiseptic. Over the next few days, check for signs of redness, swelling, or pus. If you notice any of these, or if your dog seems to be in pain, consult your veterinarian immediately.
Step 6: Consistent Maintenance
Dew claws require regular attention because they don’t naturally wear down. Make a schedule to check and, if necessary, trim the dew claw every few weeks.
Cutting a curled dew claw can be a bit nerve-wracking, especially if it’s your first time. If you’re unsure or apprehensive, always consider seeking help from a professional groomer or veterinarian. The well-being and comfort of your furry friend always come first!
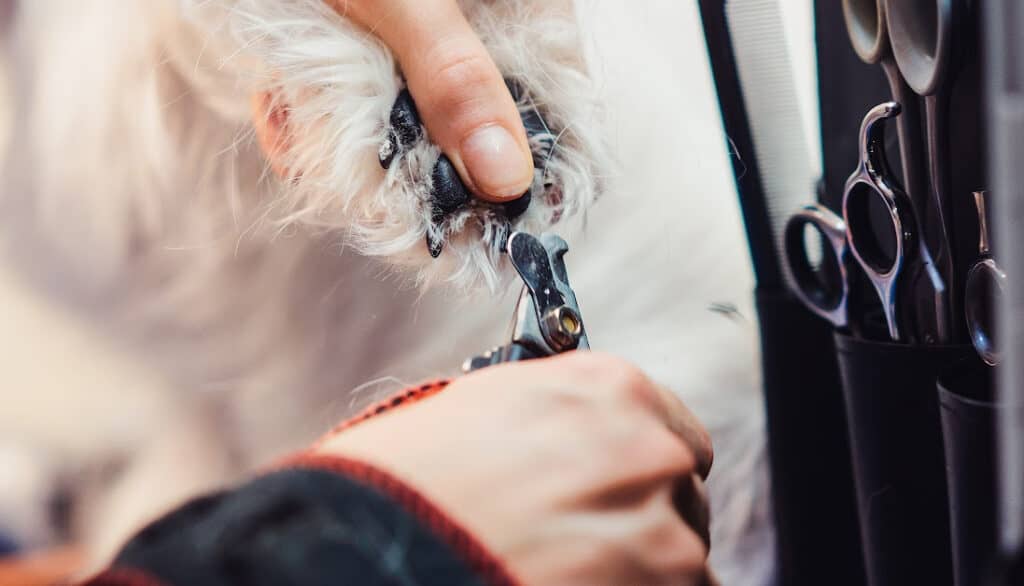
Dog Clippers for Curled Nails
Trimming your dog’s curled nails is essential for their comfort and health, and having the right tools can make the process much smoother and less stressful for both of you. Here’s a breakdown of the best dog clippers for curled nails:
Guillotine Clippers
| Pros | Cons |
|---|---|
| Best for Small to Medium Breeds | Might not work efficiently on very thick nails |
| Simple Mechanism | Blade dulls over time and will require replacement |
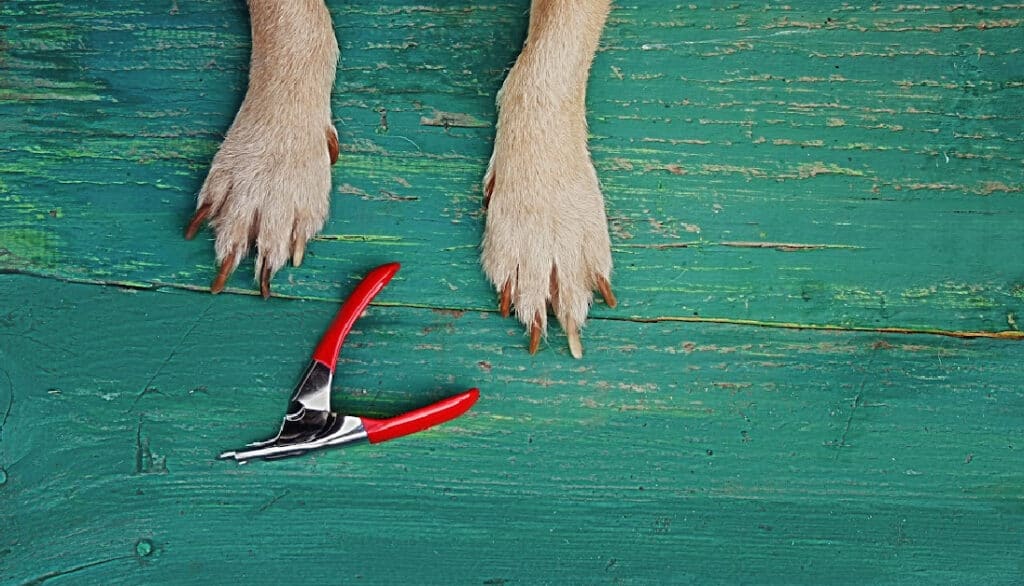
Scissor Clippers (Also known as Miller’s Forge Clippers):
| Pros | Cons |
|---|---|
| Strength: Can handle thick, tough nails | Requires more strength and stability in hand |
| Variety: Available in different sizes | – |
| Precision: Allows for more precise cuts | – |
Grinder Tools (e.g., Dremel Tools):
| Pros | Cons |
|---|---|
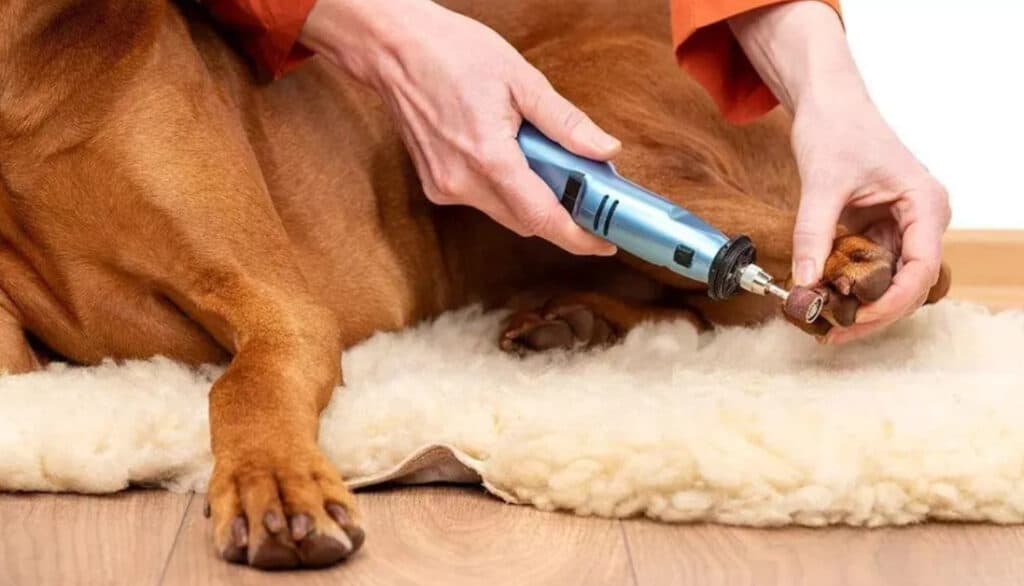
| Smooth Finish | Noise and vibration might unsettle some dogs |
| Gradual Reduction: Less risk of cutting into the quick | Takes longer than traditional clipping |
| Versatility: Suitable for all dog sizes and nail types | Regular maintenance to replace grinding bands/heads |
Tips for Choosing the Best Clippers:
- Your Dog’s Size and Nail Thickness: Consider the size and breed of your dog. Thicker nails will require stronger clippers.
- Comfort Grip: Ensure the clipper has an ergonomic design.
- Safety Features: Some clippers come with safety guards.
- Sharpness: Ensure blades are sharp. Dull blades can lead to painful nail splits.
Remember, always approach nail trimming with patience, care, and love. If in doubt or feeling uneasy, seeking a professional’s help is always the best approach.
Tips to Clip Curled Nails
Trimming curled nails can be a bit daunting, especially if it’s your first time or if the curling is severe. To ensure a stress-free and safe experience for both you and your furry friend, consider the following expert tips:
- Stay Calm and Confident: Your dog can sense your emotions. If you’re nervous, your pet will likely become anxious too. Take deep breaths and ensure you’re calm before starting the process.
- Good Lighting is Key: Proper visibility is crucial when trimming nails, especially curled ones, to avoid cutting the quick. Make sure you’re in a well-lit area or use a flashlight if needed.
- Start Small: When dealing with curled nails, it’s essential to trim small bits at a time, checking your progress regularly to avoid over-trimming or cutting into the quick.
- Regular Check-ups: To prevent nails from curling excessively, make it a routine to check and trim your dog’s nails every few weeks. Regular maintenance can prevent future complications.
- Positive Reinforcement: Reward your dog with treats or praises during and after the nail trimming process. This association can make future trims easier and less stressful.
- Know When to Stop: If your dog becomes too anxious or aggressive, it’s okay to pause and continue later or on another day. Forcing the process might lead to accidents or increased fear of nail trimming in the future.
- Have Styptic Powder Ready: Accidents happen. If you cut into the quick, having styptic powder or cornstarch at hand helps stop bleeding quickly.
- Get a Helping Hand: If your dog is fidgety, having someone help hold or soothe them can make the process smoother.
- Use the Right Clippers: As discussed earlier, using the right clippers for your dog’s nail type and size is crucial. Always ensure they’re sharp and clean before use.
Remember, nail trimming is an essential aspect of pet care. With patience, the right tools, and regular practice, it becomes an easy and stress-free routine for both you and your dog.
Conclusion
Navigating the world of dog nail care, especially when dealing with curled nails, can indeed feel like a daunting task. However, as any dedicated pet parent knows, these little challenges are all part and parcel of the incredible journey of sharing our lives with our four-legged companions. With the right knowledge, tools, and a sprinkle of patience, even tasks like nail trimming can become a bonding experience. Remember, it’s not just about keeping those paws pretty; it’s about ensuring our fur babies are comfortable, healthy, and happy. So, the next time you find yourself fretting over those spiraled nails, take a deep breath, revisit these tips, and know that you’re not alone. Every snip, clip, and trim you make is a testament to the love and care you shower on your pet. Happy grooming to all the dedicated paw-rents out there! 🐾❤️
Frequently Asked Questions
Answer: Ideally, you should check your dog’s nails every couple of weeks. Depending on your dog’s activity level and the surfaces they walk on, some may require more frequent trims, while others might not. Curled nails or those that touch the ground when your dog is standing still definitely need attention.
Answer: First, don’t panic. While it might bleed and cause discomfort for your dog, it’s a manageable situation. Quickly apply styptic powder or cornstarch to the bleeding nail to help it clot. Reassure your dog with a calm voice and perhaps offer a treat. If bleeding persists for more than a few minutes, consult your veterinarian.
Answer: Building positive associations is key. Start by letting your dog sniff and get familiar with the clippers without using them. Reward them with treats and praise for calm behavior around the tool. Gradually work your way up to touching their paws with the clippers, then clipping a single nail, and so on. Patience and consistent positive reinforcement will help ease their anxiety over time.
Answer: It’s not recommended. Dog nail clippers are specifically designed to handle the thickness and shape of dog nails. While human nail clippers might work for very small puppies or toy breeds, they aren’t ideal and may cause splitting or cracking of the nail.
Answer: A clear indicator is if you can hear your dog’s nails clicking on the floor when they walk. Also, if your dog’s nails touch the ground when they’re standing still or cause the paws to splay, they’re likely too long. Regularly inspecting your dog’s nails will help you gauge the right length and prevent them from curling.
