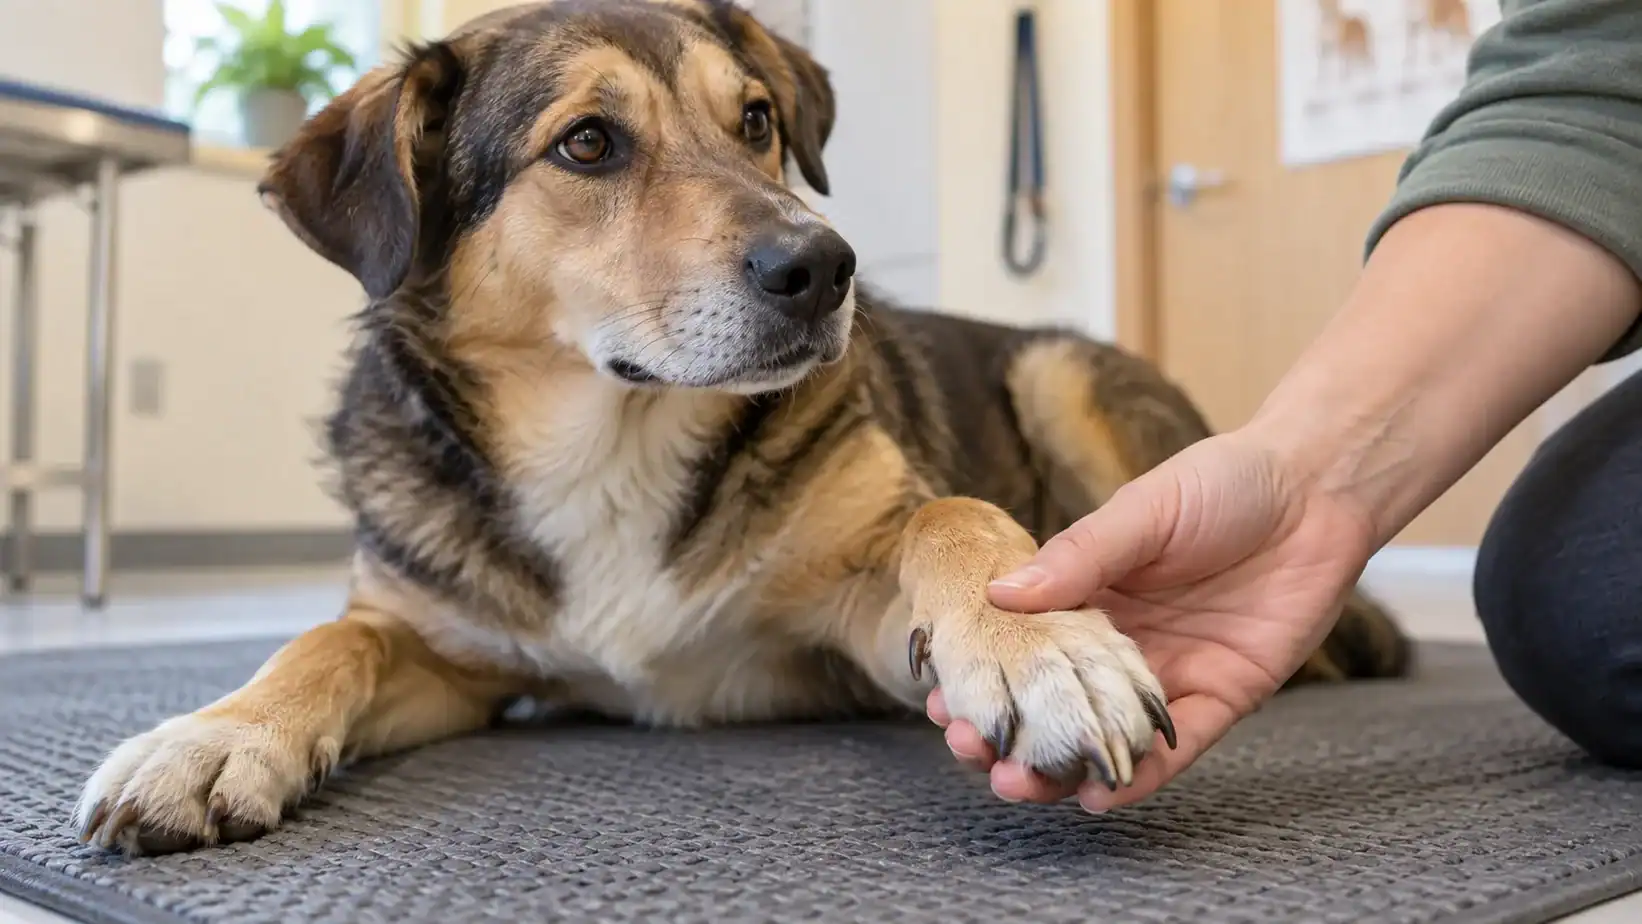
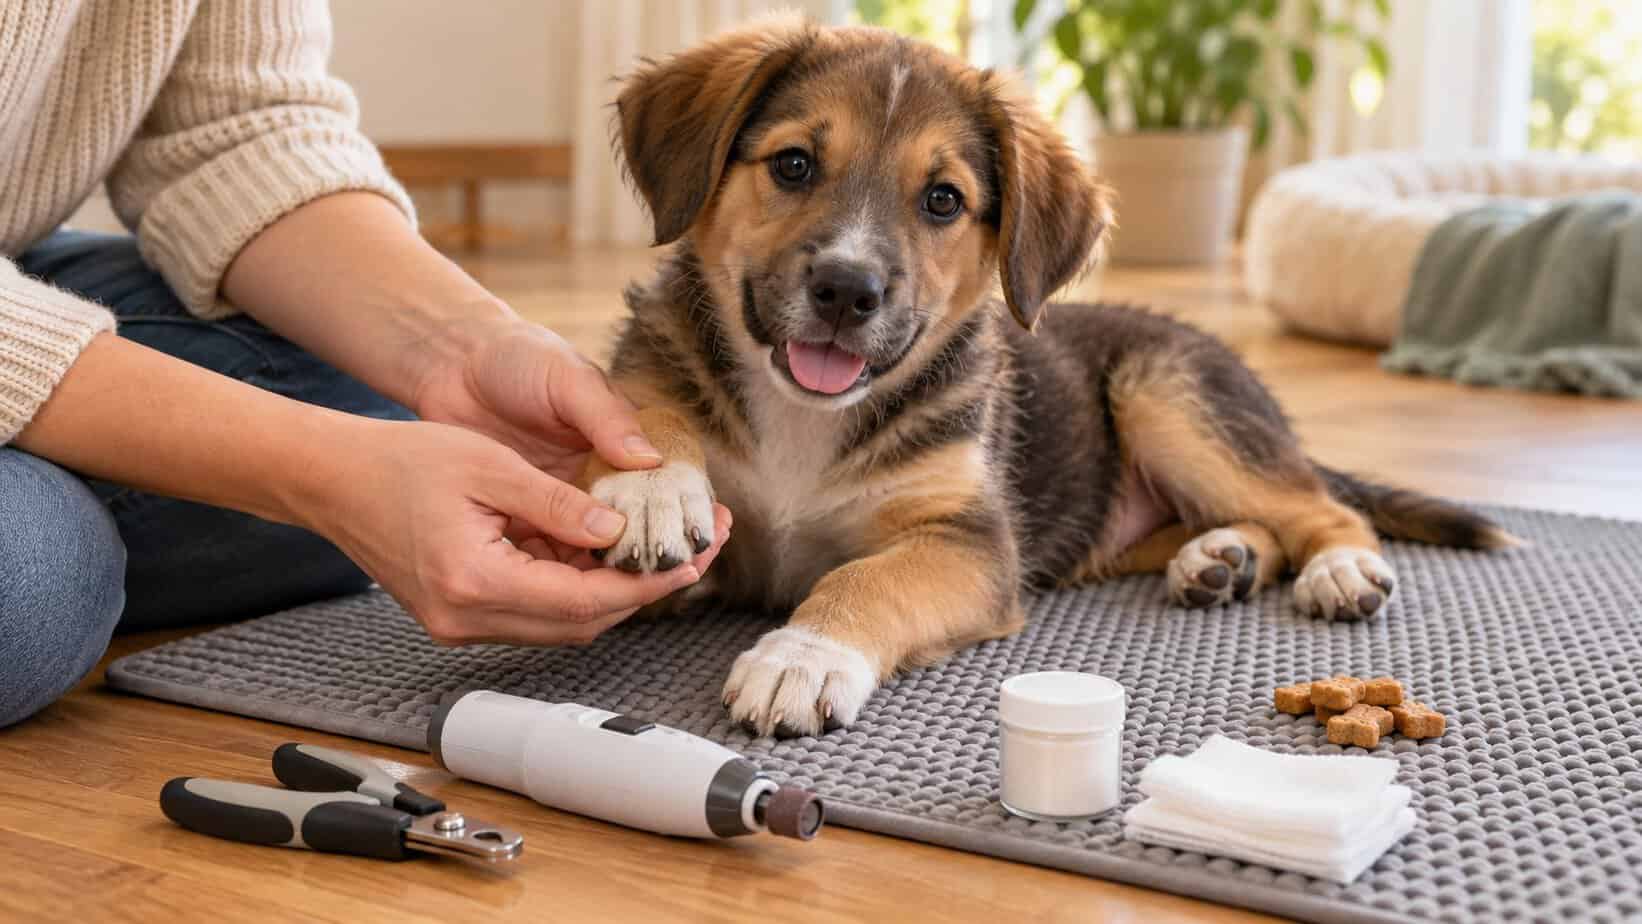
Trimming puppy nails is easiest when you make the first sessions tiny, calm, and rewarding. Start by touching one paw, showing the tool, and giving a treat. When your puppy stays relaxed, trim only the sharp tip of one nail. You do not have to finish every paw in one sitting. Good lighting, a non-slip surface, small dog nail clippers or a quiet grinder, and styptic powder nearby will help you work safely. Stop if your puppy struggles, freezes, growls, or repeatedly pulls away.
The real goal is not a perfect first trim. It is teaching your puppy that paw care is predictable and safe. That lesson will make nail care easier for years.
When Should You Start Trimming Puppy Nails?
Begin gentle paw handling as soon as your puppy is settled into your home. You can introduce the sight and sound of nail tools before the nails actually need trimming. There is no single age or calendar date that fits every puppy. Nail growth, exercise, body weight, and walking surfaces all affect how quickly nails wear.
Check the paws every one to two weeks. A nail may need attention if the pointed tip is beginning to curve, snag fabric, or push the toe out of its normal position. Clicking on a hard floor is a useful clue, but it is not a perfect test. Some properly maintained nails still make a little sound. Look at how the puppy stands and walks, not just what you hear. Dogs Trust gives the same practical advice: judge the nail while the dog is standing and consider how naturally worn the tip looks. [1]
Do not forget the dewclaws. They sit higher on the leg and usually do not touch the ground, so exercise will not wear them down.
What You Need Before You Begin
Set up before you bring your puppy into the trimming area. You will want:
- Bright, even lighting
- A towel, yoga mat, or other non-slip surface
- Tiny, high-value treats
- Small dog nail clippers that feel comfortable in your hand
- A nail grinder if your puppy accepts the sound and vibration
- Styptic powder and clean gauze in case you nick the quick
- An emery board for smoothing a sharp edge
Scissor-style dog nail clippers are usually easier to position on small nails than a large guillotine tool. A guillotine-style clipper can work, but the blade must be sharp and the nail must be placed correctly. Human nail clippers may be used only for the very thin tips of tiny puppy nails when they fit cleanly around the nail. Once the nail is thicker or curved, switch to a tool made for dogs. A human clipper that pinches, twists, or crushes the nail is not the right choice.
If clipping makes you nervous, a pet nail grinder may feel more controlled because it removes a little nail at a time. It still needs a slow introduction. Keep fur away from the rotating head and use brief touches so the nail does not heat up.
Teach Your Puppy to Accept Paw Handling First
Paw care goes much more smoothly when the puppy has learned each small part before a nail is cut. Dogs Trust recommends pairing paw handling and the tools with treats, moving at the dog’s pace, and backing up if the dog becomes worried. [1]
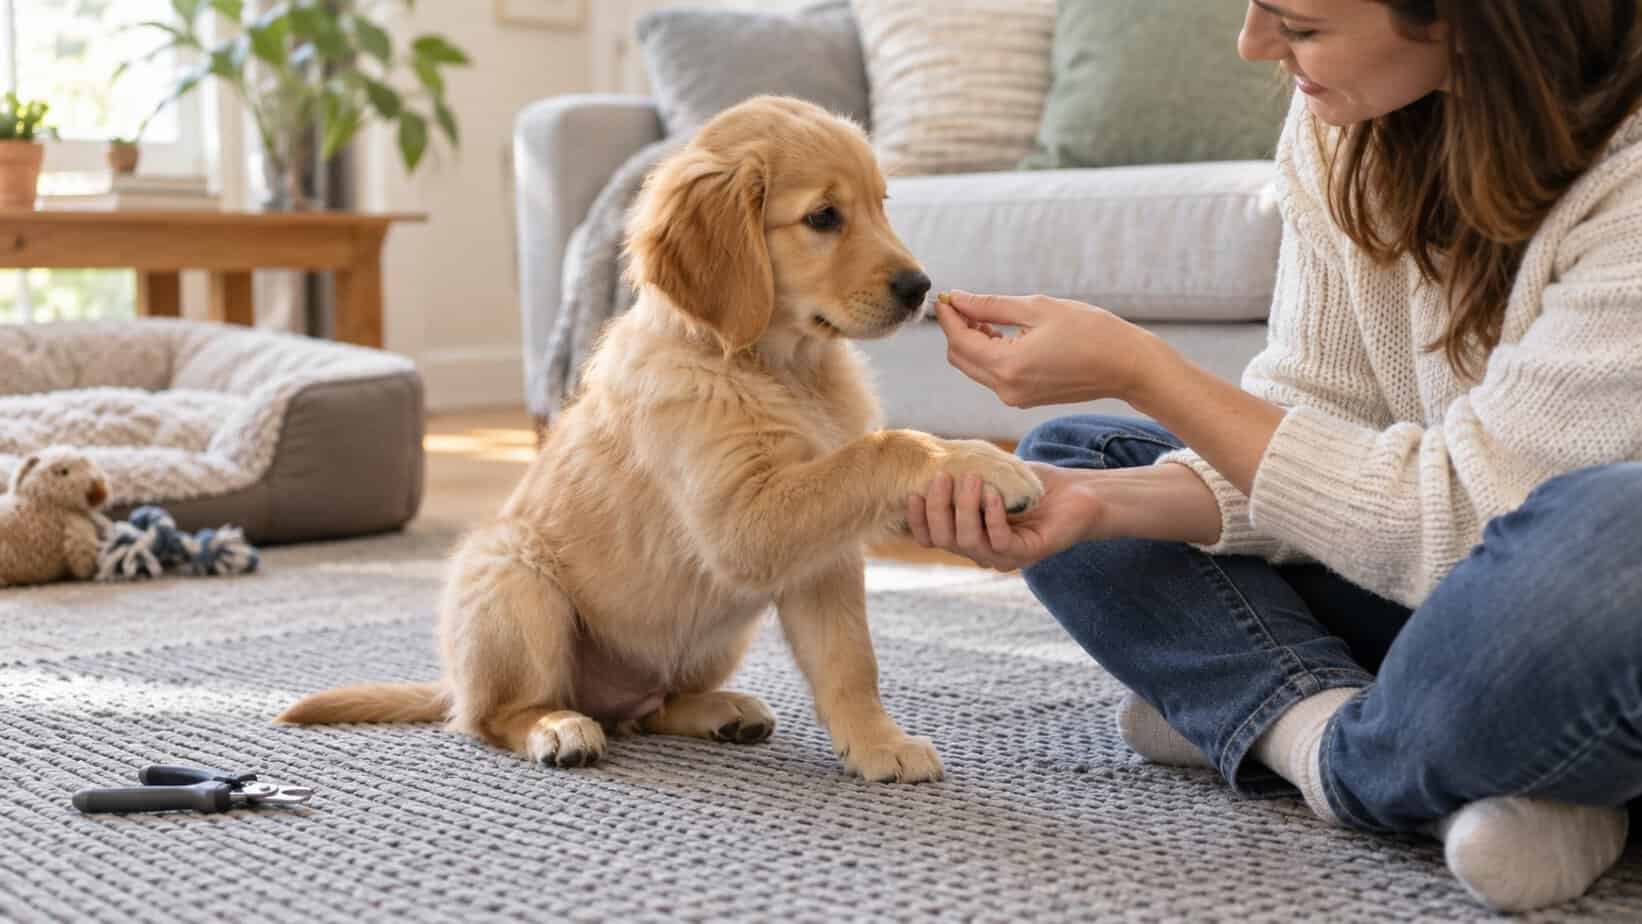
Try this progression over several short sessions:
- Touch the shoulder, slide your hand down the leg, briefly touch a paw, and reward.
- Hold the paw for one second, release, and reward.
- Gently press one toe so the nail is visible, then reward.
- Place the clippers on the floor and scatter treats around them.
- Pick up the clippers, touch the handle to the paw, and reward.
- Make the clipping sound away from the paw. Snipping a piece of dry pasta can help.
- Touch the closed clipper or switched-off grinder to one nail.
- Trim or grind only the thinnest tip of one nail, then finish the session.
If your puppy is happy to continue, you may do another nail. If not, stop on that small success. One comfortable nail is far more valuable than four paws completed through a struggle.
How to Trim Puppy Nails Step by Step
1. Choose a Stable, Comfortable Position
Place your puppy on a non-slip mat on the floor, in your lap, or beside you. Keep the body supported without pinning the puppy down. A helper can offer treats and gently steady the body while you focus on one paw.
2. Hold One Toe Without Squeezing
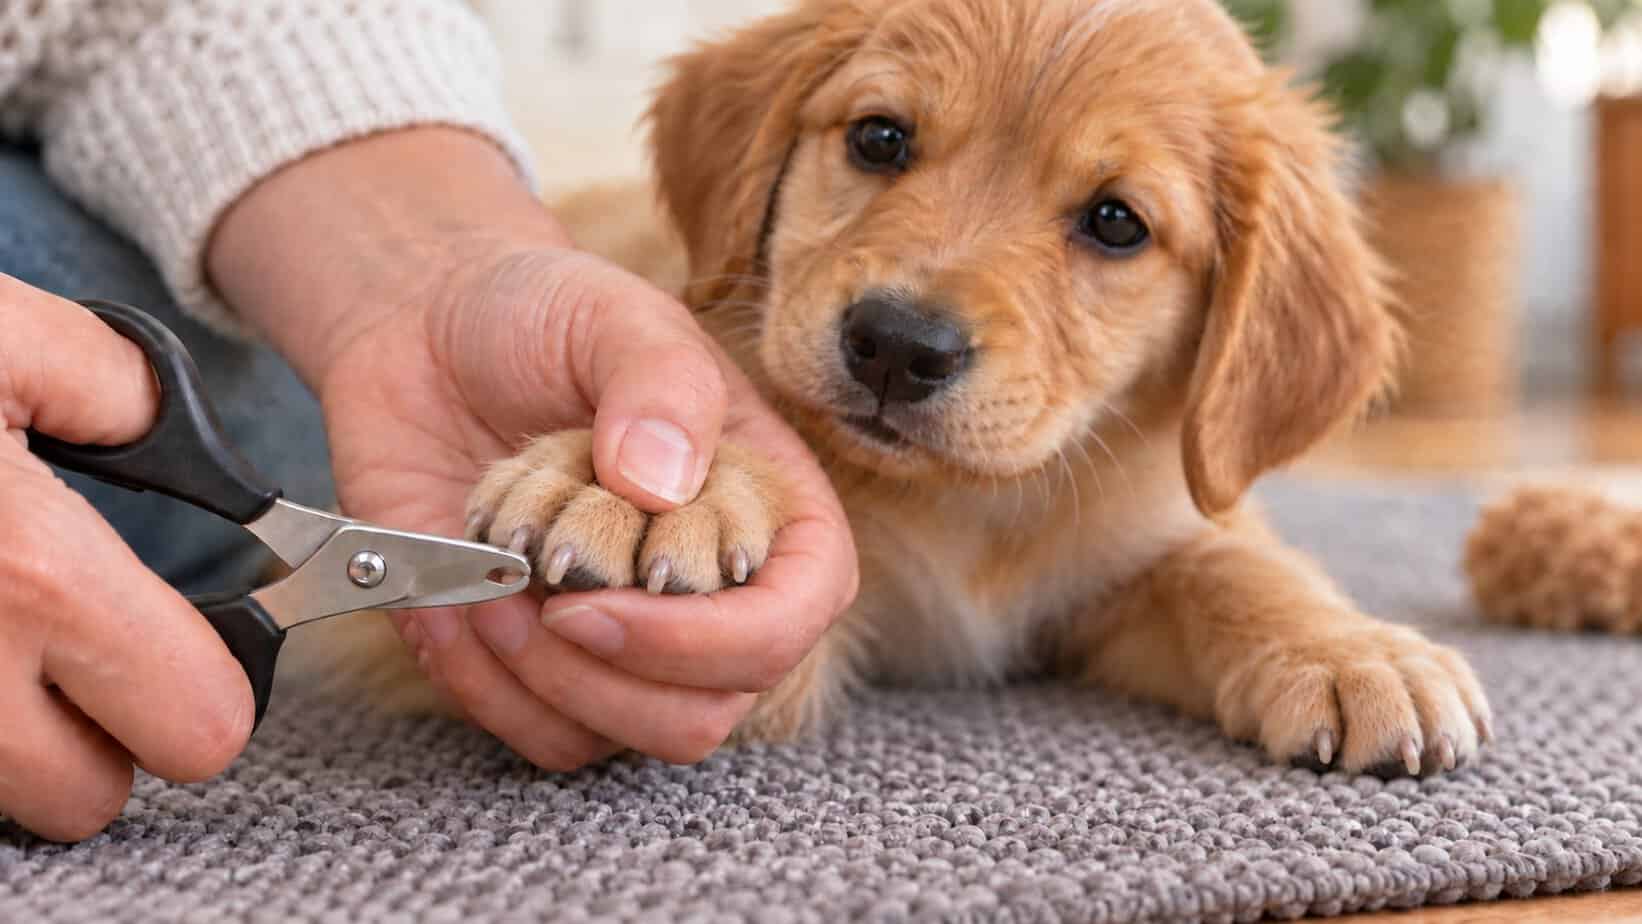
Support the paw in your non-dominant hand. Use your fingers to isolate one toe and move fur out of the way. Keep the leg in a natural position. Twisting the paw outward can make a puppy resist even when the nail itself is not painful.
3. Find the Quick
The quick is the living center of the nail that contains blood vessels and nerves. On a clear nail, it usually looks pink. Leave a small margin in front of it.
On a black nail, the quick is hidden. Remove only a very thin slice at a time. As you approach the center, the freshly cut surface changes from dry and pale to a darker, smoother center. Stop before that center becomes a distinct dark dot. If you are unsure, stop early and file the tip or ask a veterinary professional or experienced groomer to demonstrate.
4. Trim the Sharp Tip
Use a sharp tool and make a small, clean cut. Work from the end of the nail toward the paw in tiny increments. The Washington State University Veterinary Teaching Hospital demonstrates positioning the clipper perpendicular to the nail rather than crushing across it at an awkward angle. [2]
Your first goal is simply to remove the hook-like point. Do not chase the shortest possible nail. Each nail can have a slightly different quick length, so judge them one at a time.
5. Reward and Check Your Puppy
Give a treat immediately after the cut. Watch your puppy’s body language before moving on. A loose body, soft face, and willingness to take food mean the session can continue. Repeated paw pulling, tucked posture, panting that is not caused by heat, a hard stare, growling, or refusal of a favorite treat means it is time to pause.
6. Smooth the Edge if Needed
Use an emery board or a grinder for a second or two to round a rough edge. With a grinder, touch and lift rather than holding the tool against the nail. Short contacts help prevent heat buildup.
How to Use a Nail Grinder on a Puppy
A grinder can leave a smooth finish, but many puppies need time to accept the noise and vibration. Let your puppy investigate the switched-off tool first. Then turn it on across the room, reward calm behavior, and gradually move closer over several sessions.
When your puppy is comfortable, support one toe and touch the grinder to the nail tip for about a second. Lift it away, reward, and check for heat. Keep long fur away from the rotating head. Work around the edge of the nail rather than pressing straight into one spot.
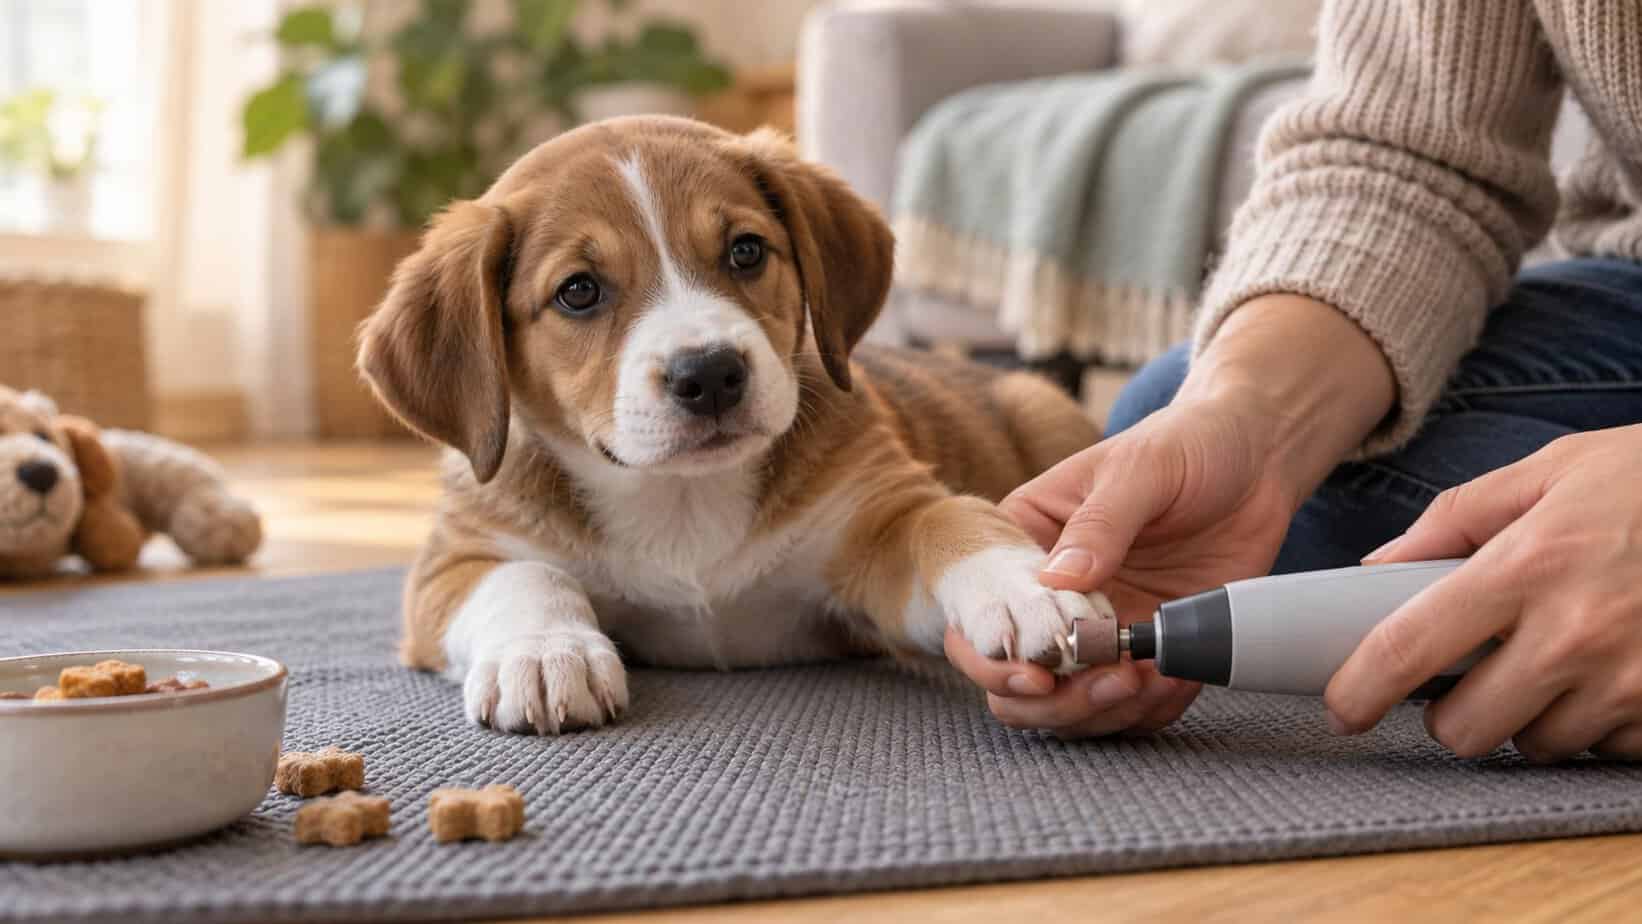
The Fear Free approach emphasizes gradual exposure and preserving the pet’s sense of safety. [3] If the grinder worries your puppy more than clippers, it is not automatically the gentler choice. Use the tool your puppy can accept calmly.
What to Do if You Cut the Quick
A nicked quick can bleed more than you expect from such a tiny nail. Stay calm and keep your puppy still.
- Press clean gauze against the nail.
- Apply styptic powder to the bleeding tip, following the product directions.
- Hold steady pressure without repeatedly lifting the gauze to check.
- Keep the paw clean and avoid running on rough surfaces until bleeding has stopped.
Another styptic powder option can be kept in a first-aid kit so it is easy to reach before you start. Dogs Trust recommends having a styptic pencil or powder available for nail bleeding. [1]
Contact a veterinarian promptly if firm pressure and styptic powder do not stop the bleeding, the nail is split or torn near the base, your puppy seems very painful, or the toe becomes swollen, warm, foul-smelling, or produces discharge.
Do not apply household glue to the nail.
How Often Should Puppy Nails Be Trimmed?
Check the nails every couple of weeks, then trim only when needed. Some puppies need a small trim every one to three weeks. Others wear their nails naturally and need less frequent clipping. Dewclaws often need more attention because they do not contact the ground.
If nails are already long, do not remove all the extra length in one session. The quick may have extended with the nail. Take off a small amount, wait about a week, and repeat. Gradual shortening gives the quick time to recede and is safer than trying to reach an ideal length at once. [1]
When to Ask a Groomer or Veterinarian for Help
Home trimming is appropriate for a calm puppy with healthy nails when you can clearly control the tool. Professional help is the kinder choice when:
- A nail curls toward or into the paw pad
- The nail is cracked, torn, loose, or bleeding near its base
- The toe is red, swollen, painful, or has discharge or odor
- Your puppy limps or will not bear weight
- Your puppy panics, snaps, or cannot be safely held
- You cannot identify a safe amount to remove from very dark or overgrown nails
A veterinary team should examine an embedded nail or a painful, infected-looking toe. Sedation or pain relief may be needed for safe treatment. Trying to force a difficult trim at home can worsen both the injury and the puppy’s fear.
Common Puppy Nail Trimming Mistakes
Trying to Finish Every Nail
A full set is not required. Stop while your puppy is still successful, even if that means one nail today and another tomorrow.
Relying Only on the Clicking Sound
Clicking can alert you to check the paws, but it does not prove the nails are too long. Look at nail shape, toe position, snagging, and comfort while standing.
Trusting a Safety Guard Completely
A clipper guard cannot detect the quick. Nail shape and quick length vary. Treat the guard as a positioning aid, not a guarantee.
Holding Too Tightly
Firm restraint often creates more struggling. Support the body and paw, keep the session short, and pause when your puppy asks for a break.
Grinding Too Long in One Place
Friction creates heat. Use brief touches, move among nails, and check the temperature often.
Final Thoughts
The easiest puppy nail trim is the one built from small, calm steps. Prepare your tools, teach paw handling, remove only the sharp tip, and reward generously. A short session that protects your puppy’s trust is a success.
Check the nails and dewclaws every couple of weeks. With steady practice, most puppies learn that nail care is simply another normal part of being handled and cared for.
Frequently Asked Questions
Yes, you can trim an 8-week-old puppy’s nails if they need it. Use a tool that fits the tiny nail, remove only the sharp tip, and keep the session brief. Paw handling and one comfortable nail may be enough for the first session.
Human nail clippers may work on the very thin tips of tiny puppy nails if they fit cleanly and do not pinch. They are not a good choice for thicker or curved nails. Small dog nail clippers or a pet grinder give better control as the puppy grows.
Take off very thin slices and inspect the cut surface after each one. Stop before a dark center becomes clearly visible. If you cannot judge the safe stopping point, remove only the sharp hook or ask a groomer or veterinary professional to show you.
Return to short handling exercises without cutting. Pair paw touches and the sight or sound of the tool with treats. Stop before your puppy panics. If fear is intense or handling is unsafe, ask a Fear Free professional, groomer, or veterinary team for help.
The nails should not force the toes out of position or curl toward the pads. Many healthy nails sit just above the ground, though some lightly touch and are worn flat. The correct length depends on the puppy’s anatomy and quick length, so avoid using a single floor-clearance rule for every dog.
References
- Dogs Trust. (2026). How to clip your dog’s nails. https://www.dogstrust.org.uk/dog-advice/health-wellbeing/at-home/nails
- Washington State University Veterinary Teaching Hospital. (2026, February 25). How to clip a dog’s nails. https://hospital.vetmed.wsu.edu/2026/02/25/how-to-clip-a-dogs-nails/
- Fear Free Happy Homes. (n.d.). Nail anatomy 101: Keep trims safe, not scary. https://www.fearfreehappyhomes.com/nail-anatomy-101-keep-trims-safe-not-scary/
ABOUT THE AUTHOR